Appearance
View Menu - Schematic Diagram
Summary
The Schematic Diagram command, found in the View menu, opens the Schematic Diagram Input dialog box. Creating a schematic diagram of the fire sprinkler system is required in some jurisdictions as part of the calculation printout. Users can manually build the diagram by entering nodes from the System Piping tab or use the Build Nodes button to have HydraCALC automatically generate a basic structure based on the system piping input.
How Do I Use Schematic Diagram?
This command opens the Schematic Diagram Input dialog box. A schematic diagram is required in some jurisdictions, as part of the calculation printout.
NOTE - There is a video of this process. It can be accessed from the Help pulldown menu select Instructional Videos. Then, select HydraCALC Build Nodes.
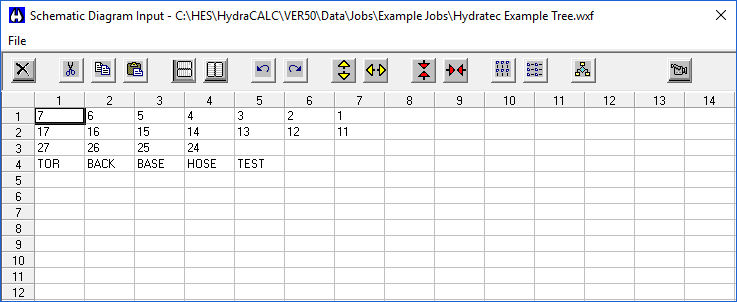
You can enter nodes from System Piping to manually build your flow diagram references or press the Build Nodes button to have HydraCALC do it for you automatically. With this dialog box completed, you can print a Schematic Diagram from your Final Print options. If it is not completed, you will not be able to print a Schematic Diagram.
You can manually organize the Schematic Diagram with the provided tools. Highlight a few fields horizontally or vertically with your mouse and right click. You will be able to select from Input Types that have been entered in the System Piping Tab. For example, with a tree you could select horizontally and select Ln-S pipe types until all your lines are showing. You could then select riser nipples, mains, underground, etc. until your node diagram is complete.
You can highlight the nodes and use the Mirror Vertical, Mirror Horizontal or Rotate buttons to further organize your data.
The Connect Vertical and Connect Horizontal buttons are for connecting grid lines with mains. For example, you could right click and list your front main (MN-G1) and back main (Mn-G2) nodes vertically on the screen with some distance between them. You must make sure that the mains are aligned. You can do this by mirroring or cutting and pasting the nodes. You can then highlight both and press the Connect Horizontal button to fill in and connect the lines with the mains.