Appearance
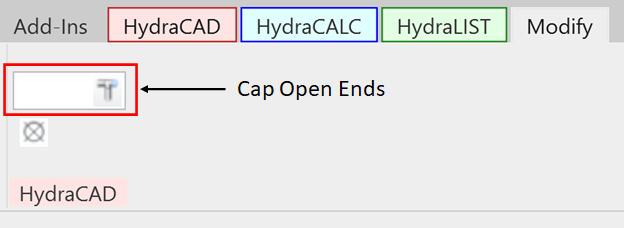
Cap Open Ends
To jump to a video explaining the Cap Open Ends button, click here.
The Cap Open Ends function works very similar to the base Revit command, however, it allows you to specify what length you want the pipe to be prior to capping it.
This tool will also appear under the Modify | Pipes ribbon when it appears, alongwith the base Revit command - but it also has a permanent home in the normal Modify ribbon at all times. The Revit version of the button is shown in the blue box, the HydraCAD button is shown in the red box.

Summary
- The Cap Open Ends tool can be used in two ways:
- Enter the length to cap the pipe off, with a pipe, or pipes, already pre-selected, and press the 'Enter' key while in the textbox.
- This will cap that pipe only.
- If you want to cap multiple pipes at that same length, enter the value and click the small square button beside the textbox.
- After clicking that button, click all the pipes you want to cap. They should be capped after you click them.
- Enter the length to cap the pipe off, with a pipe, or pipes, already pre-selected, and press the 'Enter' key while in the textbox.
- Press the 'Esc' key once finished to exit.
Example video of the Cap Open Ends Button
How Do I Use The Button?

In the text box simply type the length that you would like the pipe to be prior to the cap being applied. Either typing the “Enter” key in the text box or clicking the button on the right of the text box will begin the command.
NOTE: This function will only work on pipes that have ONE open connector.
Additional Help (Videos and additional resources)
For more help regarding the Cap Open Ends button: click here
For other help that might be relevant to Cap Open Ends: click here
HydraCARDs (Troubleshooting)
For HydraCARDs regarding the cap open ends button: click here
For other relevant HydraCARDs: click here