Appearance
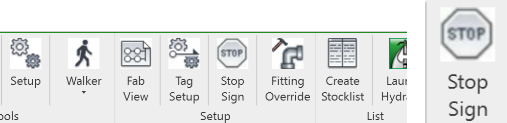
Stop Sign

Example video of Stop Sign Button
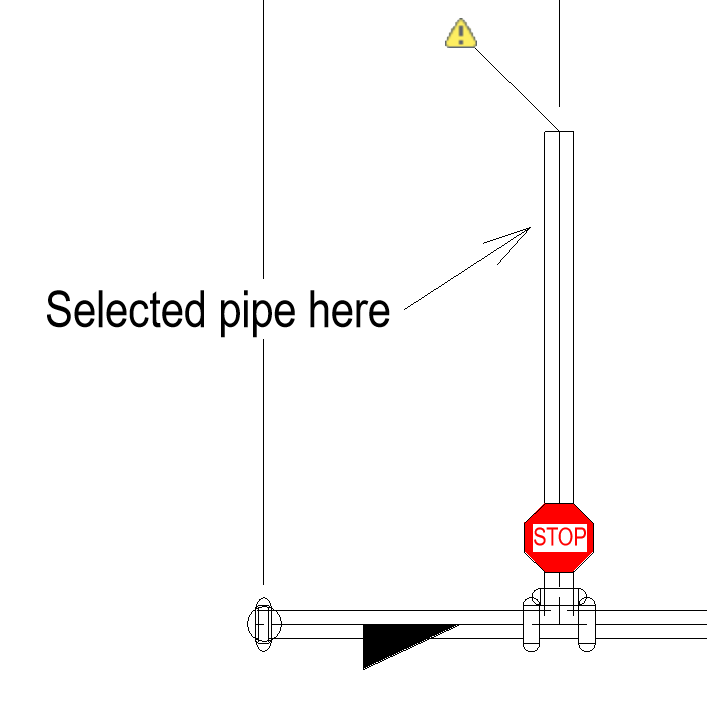
This command is used to insert Stop signs for the Stocklist process. This is required when stocklist a gridded system. When you select the Stop command, HydraLIST for Revit will prompt the user to select a pipe.
Select the pipe near the end where the you want the list to stop.
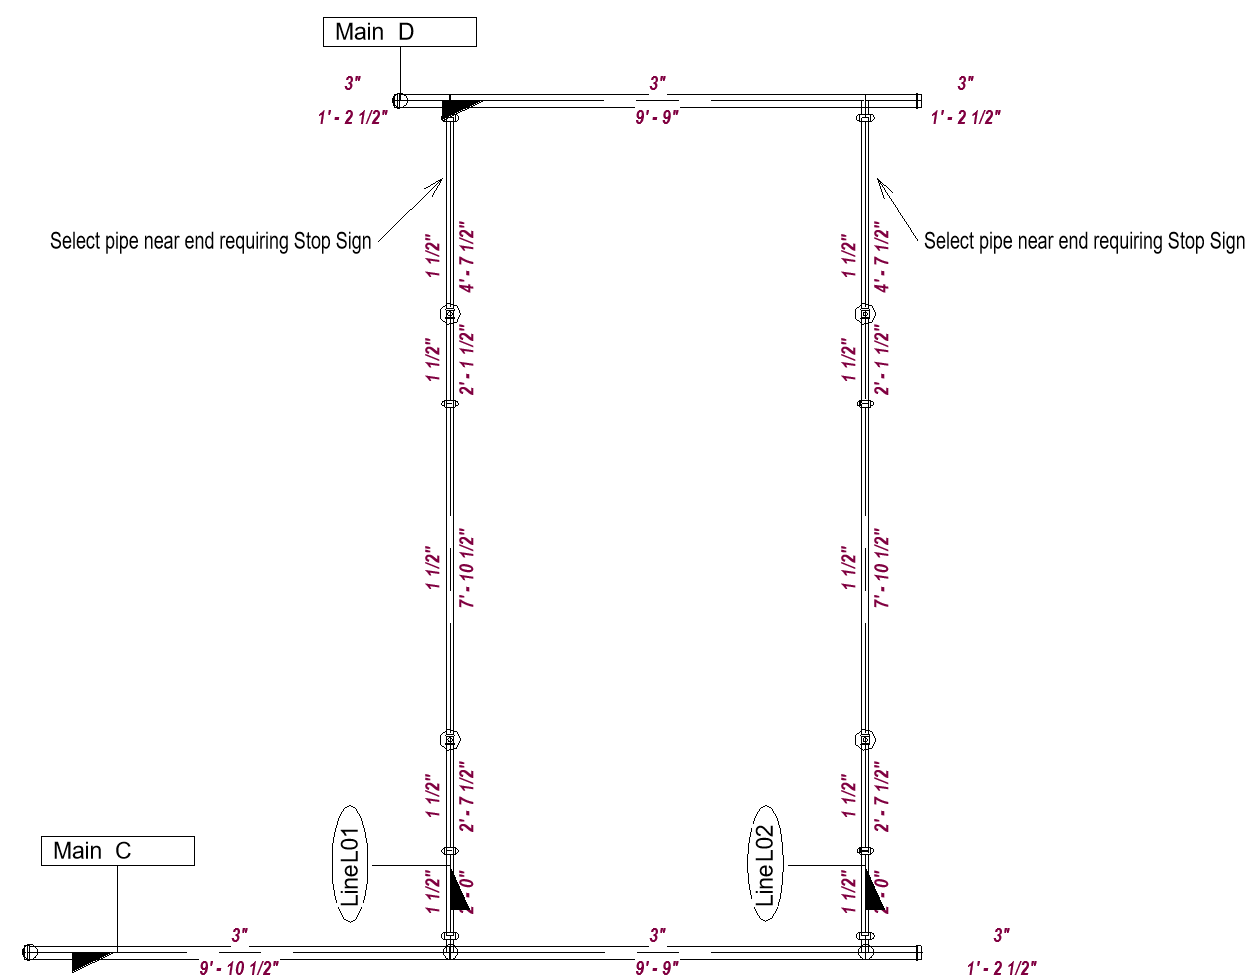
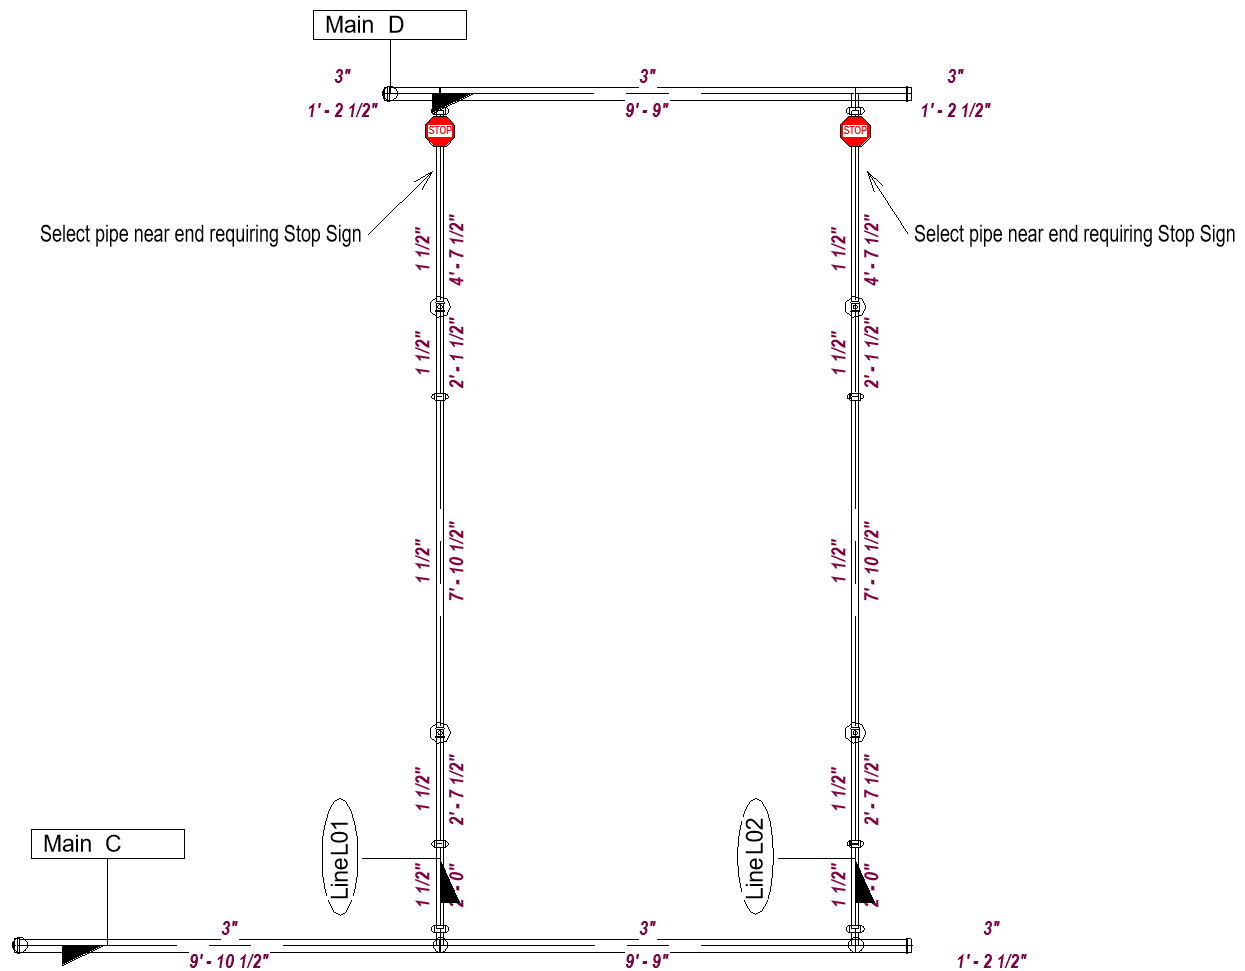
If the Stop Sign appears on the wrong end, select the pipe again near the correct end. The Stop Sign will move to that end.

If selected pipe has no fittings attached, this error message will appear.
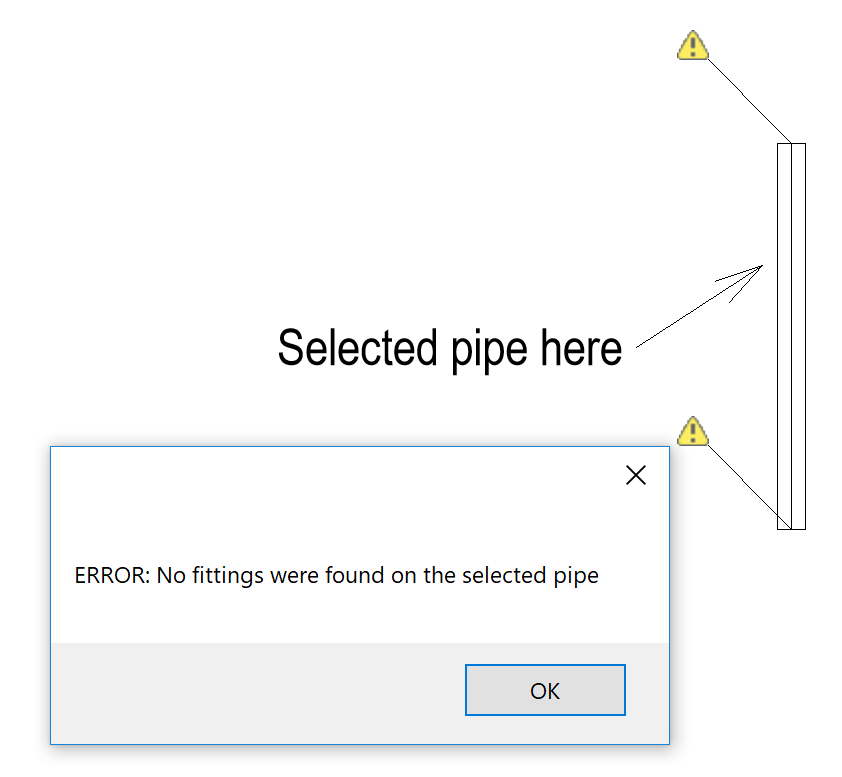
Stop Sign will go to the end with a fitting if there is no fitting on pipe end selected.
Stop Sign Examples
Example 1:
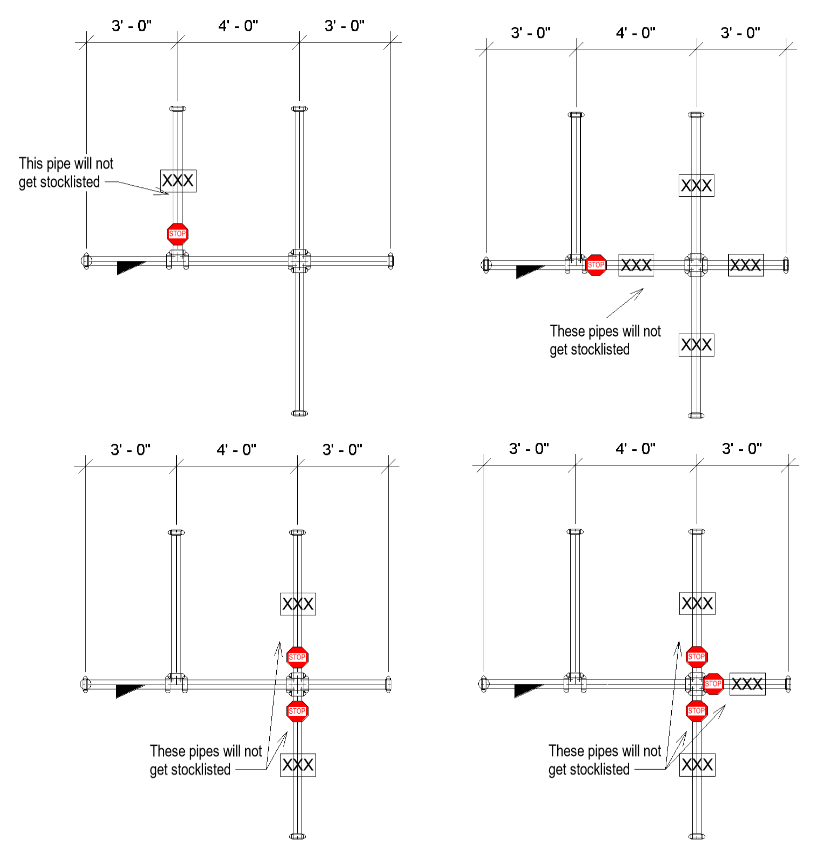
Example 2:
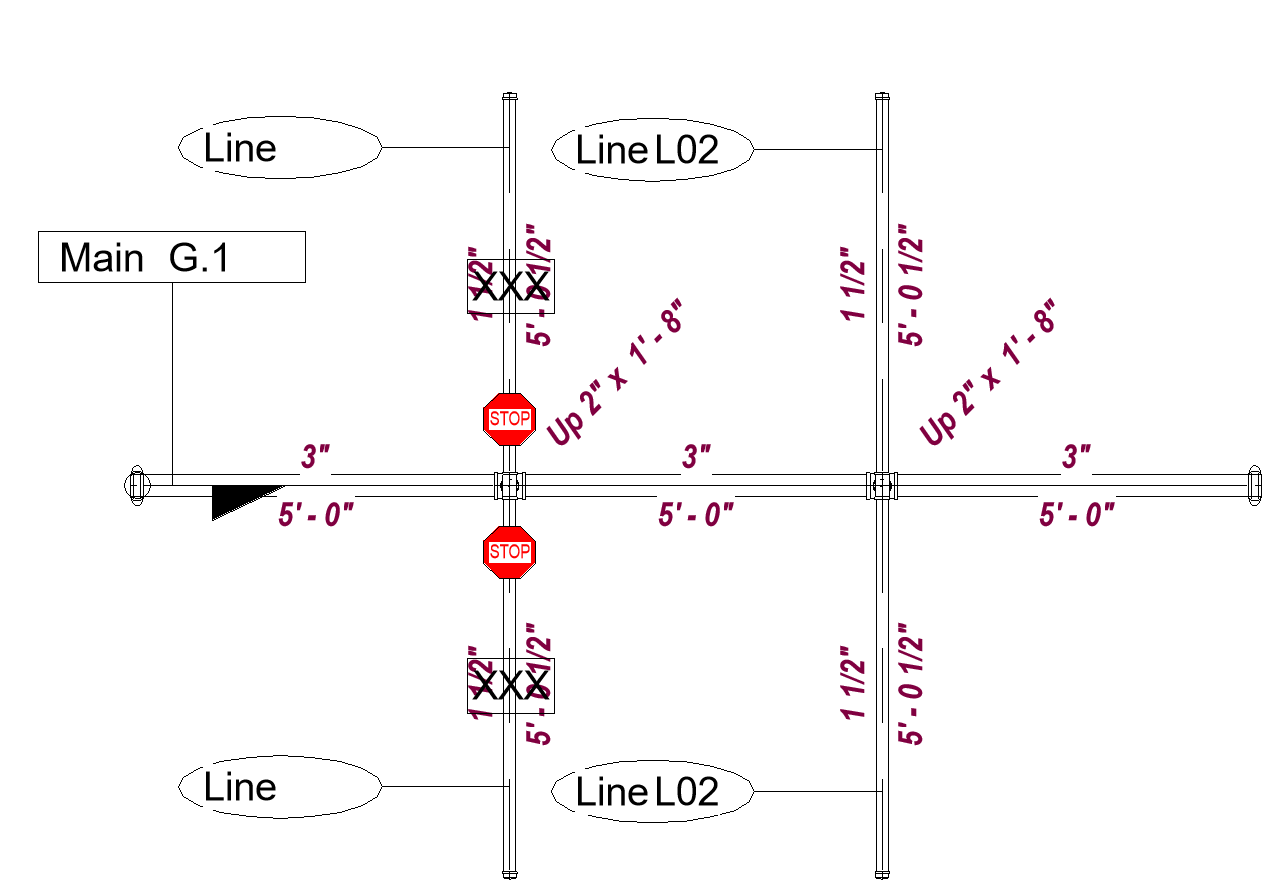
With Stop Signs at either side of riser, only RN will be Stocklisted.
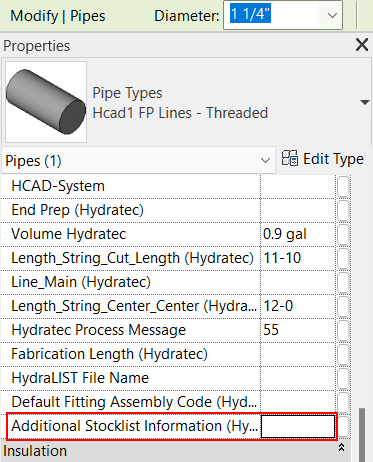
After successfully running the Stop Sign command, info will be added to the property shown above. This should not be manually edited, or set without use of the Tag Setup, Tag Direction or Stop Sign command. Having bad info in the property shown above could causes errors, and cause these commands to not function properly.
Multiple Stop Signs
Hydratec For Revit
Help File Under Construction
Additional Help (Videos and additional resources)
For more help regarding the Stop Sign button: click here
For other help that might be relevant to Stop Sign: click here
HydraCARDs (Troubleshooting)
For HydraCARDs regarding the Stop Sign button: click here
For other relevant HydraCARDs about Stop Sign: click here
For HydraCARDs regarding the Multiple Stop Signs button: click here
For other relevant HydraCARDs about Multiple Stop Signs: click here