Appearance
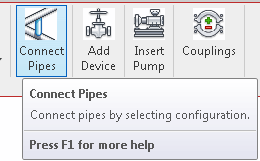
Connect Pipes
To jump to a video explaining the Connect Pipes button, click here.
Connect Pipes is used to connect pipes of differing elevations to each other. Its primary use case is connecting branch lines into the main via riser nipples, however it is not limited to this.
Summary
- Click the Connect Pipes button.
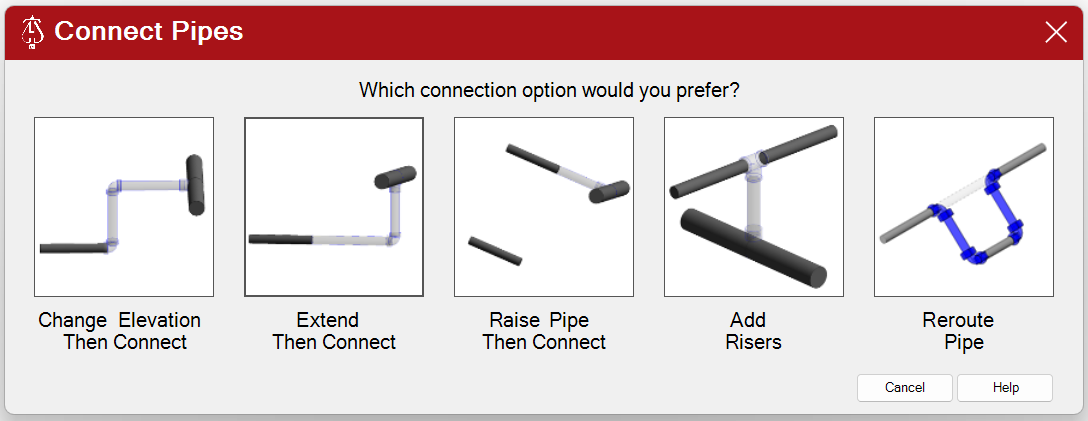
- Choose which option of the 4 available you'd like to use to connect the pipes together.
- The available options are detailed here
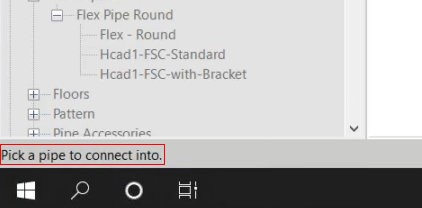
- Select the pipe you'd like to connect into first, the secondly select the pipe that's going to extend or raise into it, etc.
- As an example, you select the main pipe you'd like the lines to be connected into, and then all the lines second.
- Once you've selected the pipes you want to connect, click the Finish option.
- This is located just below the HydraCAD ribbon, with an example shown here
- Reroute Pipe Summary:
- Back-to-Back Ell connections are possible when min length = 0 and Auto Adjust is Active.
- Simply requires selection of 2 parallel pipe segments, the larger one will automatically be chosen as the target pipe.
- Settings are accessed by a “hamburger” icon on the reroute button.
- Short pipes warning will pop up if any of the resulting pipes are less than minimum, even if the connecting pipes long enough.
Example video of Connect Pipes Button
How Do I Use The Button?
Click the connect pipes button. It should open a box displaying multiple options in order to connect pipes with.
Regardless of the option you selected, you'll be prompted to choose the pipe in which you'd like the other pipes to be connected to first. Then secondly, the pipe(s) you would like to be connected into your previous choice. There will be instructions on the bottom left of your Revit window guiding you through these steps, as seen below.
Connection options
Change elevation then connect will create a connector pipe that will go up to match the elevation of the main pipe, then connect directly to it once the elevation is equal.
Extend then connect will create a run of pipe until it is directly under the main pipe, and then be connected by creating a connection directly under the main pipe.
Raise pipe then connect will change all selected pipes that wish to be connected the main pipe to the main pipe's elevation, and then connect into it.
Add risers will create riser nipples at each indicated location to connect subsequent pipes into the main pipe.
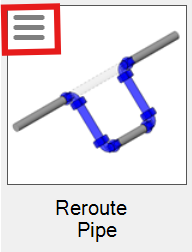
Reroute Pipe
Reroute Pipe allows pipes to be moved / rerouted around obstructions automatically.
Pipe Definitions
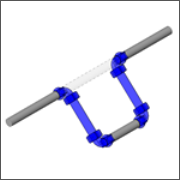
Target Pipe: Original path which will be the longer of the two pipes selected. Represented by the grey transparent pipe in the image above.
Reroute Pipe: new path which will be the shorter of the two pipes picked. Represented by the solid grey pipe in the image above.
Connecting Pipe(s): newly created pipes to complete the new pipe route. Represented by the blue pipes in the image above.
Reroute Pipe Settings
The Reroute Pipe settings can be accessed by selecting the “hamburger” icon on the side of the reroute button.
There are 2 options in the Reroute Pipe Settings that can be adjusted.
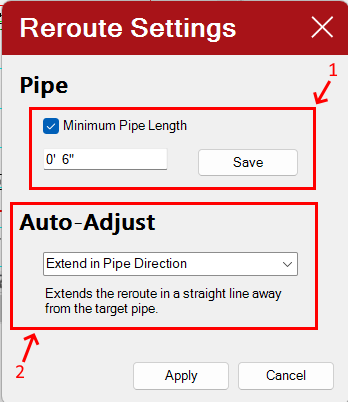
Minimum Pipe Length refers to the modeled pipe's length and NOT to Center to Center dimensions.
1. Minimum Pipe Length: if checked then the function result will be checked for any pipes shorter than the specified value. If any short pipes are found a message box will simply report which pipes were too short.If the connecting pipes are too short the Auto-Adjust Setting will be used to optionally enforce the Minimum Pipe Length for the connecting Pipes only.
Likely values include:
- 0” for back-to-back grooved pipes
- 6” for grooved pipes
- 2” for threaded pipes
2. Auto-Adjust: If a minimum pipe length has been specified and checked and if the connecting pipes would otherwise be to short than the connection will be adjusted as follows:
- Off: will simply use the pipe length determined by the fittings involved.
- Extend in Pipe Direction: will move the Reroute Pipe in the direction of the connecting pipes to make the connecting pipes equal to the Minimum Pipe Length.
- Extend Horizontally: will move the Reroute Pipe horizontally to make the connecting pipes equal to the Minimum Pipe Length.
Confirm or cancel selection
When you are finished selecting all pipes you'd like to connect, there will be two buttons towards the top right of the Revit window, pictured below.
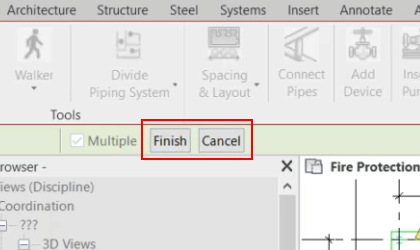
Finish will connect the pipes via whichever method was chosen, as detailed above.
Cancel will return you out of the pipe selection process.
Additional Help (Videos and additional resources)
For more help regarding the Connect Pipes button: click here
For other help that might be relevant to Connect Pipes: click here
HydraCARDs (Troubleshooting)
For HydraCARDs regarding the connect pipes button: click here
For other relevant HydraCARDs: click here