Appearance
Getting into HydraCAD
The Installation program will place a HydraCAD icon on your desktop. Double click on it to start the program.
![]()
You can also open it from the Windows Start menu. Start > Hydratec Version 50 Software > HydraCAD V58 (V57)
Double-clicking on the drawing file to open it is not recommended since the wrong AutoCAD profile may load if that is done.

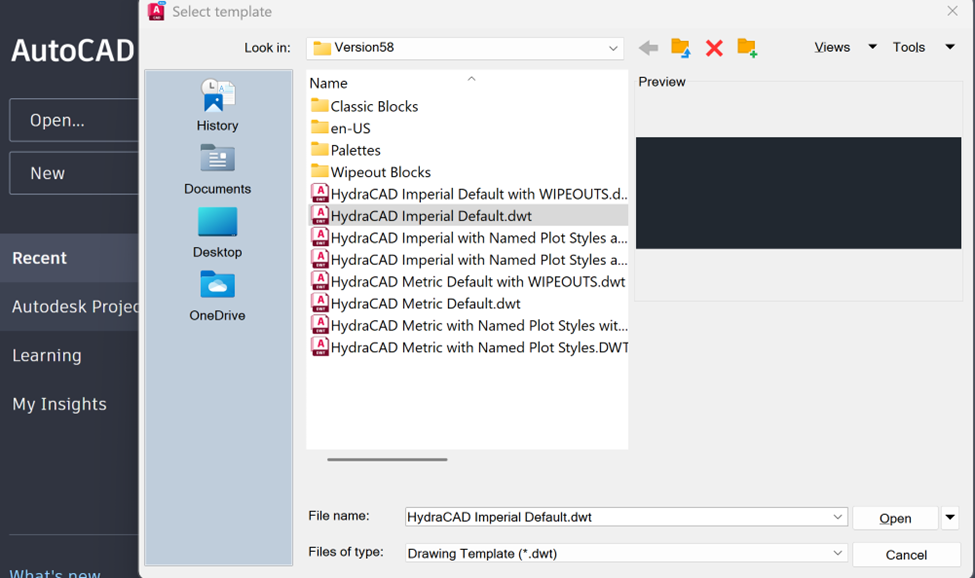
HydraCAD opens with the Startup dialog box. Select the Use a Template tab.
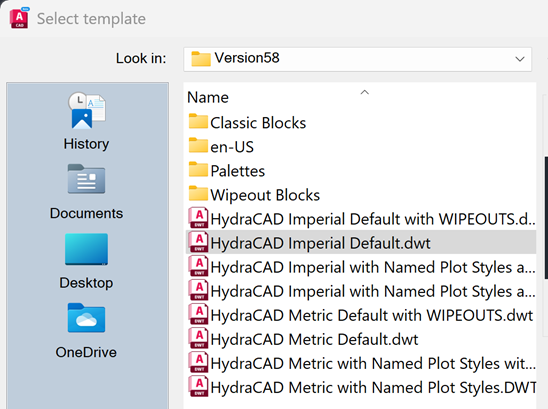
A number of HydraCAD templates are available. These include four basic variations:

Imperial templates (with Architectural units)
Metric templates (with Metric units)
Both Imperial and Metric templates with named plot styles and paper space views.dwt (standard sheet layouts where the title blocks are in Paper space, and HydraCAD plot styles that control line types and colors).
Both Imperial and Metric templates without WIPEOUTS, and with WIPEOUTs (Wipeouts are AutoCAD entities that block out objects underneath them. They have been added to certain HydraCAD blocks. Refer to AutoCAD Help for more information on Wipeouts).
Tip – If you want to customize your own template, including layer colors, paper space title blocks, etc., open one of our templates from AutoCAD, cancel the Drawing Setup dialog box (shown below) and make your changes. When done, Save the template to some other name to avoid overwriting the default templates.
All templates will set up the HydraCAD Layers for you. When a template has been selected, press OK.

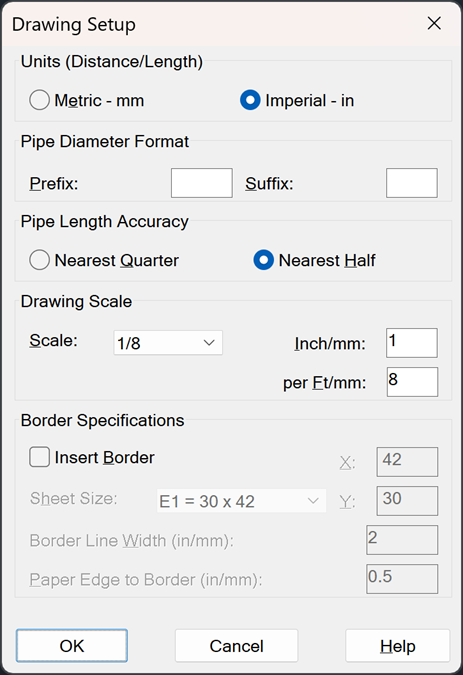
The Drawing Setup dialog box will appear. The setting of the template you selected will be defaulted to in the Units section.
The Pipe Diameter Format area controls how diameters will be labeled. Enter a Prefix or Suffix that you would like to appear ahead or behind the diameter value. For example, you may want to place the inches (”) sign after the pipe diameter. For metric you may want to blank out the Suffix and enter a nominal diameter symbol as a Prefix. The Φ sign is generated by entering %%C in the Prefix box.
The Pipe Length Accuracy area asks if you want pipe lengths to be rounded to the nearest quarter inch or half inch, for Imperial templates, only.
Pick the Drawing Scale from the pull-down menu or enter a scale in the boxes to the right.
If you select a template with paper space views, or you have your own border to insert, leave the Insert Border box unchecked and press OK.
If Insert Border is enabled, pick a Sheet Size from the pull-down list. If you require a custom sheet size, enter these values in the X and Y boxes.
The Border Line Width controls the thickness of the border line. The value is in inches or millimeters.
The Paper Edge to Border controls the tolerance required by your plotter to plot a mounted page. Most plotters can plot within the ½” default. When you press OK, HydraCAD will insert the border for you. If you are switching unit systems, close and then reopen HydraCAD again to reload the prototype drawing.

 HydraDOCs