Appearance
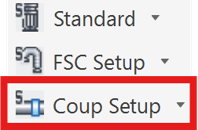
Coupling Setup
Layer(s): SPRNK2, SPRKDAT1, SPRKDAT2, SPRKDATA
Shortcut: CS
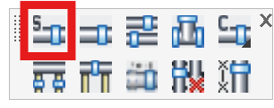
Associated: Single Coupling / Multiple Couplings / Custom Coupling / Ell/Tee / Takeouts
Ribbon: Insert Panel
Specify coupling types and sizes.
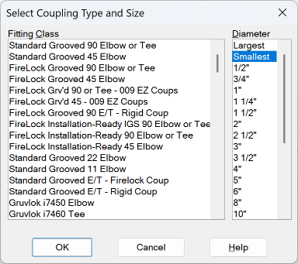
In Fitting Class select the type of fittings and/or outlet configuration.
Select the appropriate diameter of the fitting.
Choose Smallest to read diameters off the pipe(s) found at the location(s) picked and use the smaller of them for the fitting takeout.
For example, if you have two pipes coming together at an elbow and one is sized 3” and the other 4”, Smallest will give you a 3” elbow.
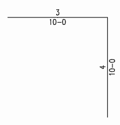
Choosing Largest will give you a 4” elbow. Note: Reducing couplings are automatically listed when diameters of pipes on either side of coupling differs.
Important - Your selections tell the drawing what takeouts to use for drafting purposes. AutoList also has takeouts stored internally. The type of coupling (Standard vs. Short Radius) and the diameter must match exactly what you tell the listing program later, or you will receive errors if the takeouts do not match the couplings cut in. If you put 8” couplings on a 4” elbow, you will get 8” takeouts later.
Traditional Elbows and Tees
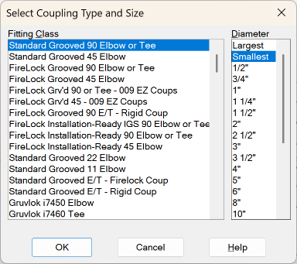
This example shows two mains ready for an elbow and coupling insertion. The Coupling Setup command is selected and the dialog box setup for a Standard Grooved 90 Elbow or Tee.
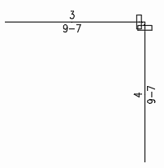
The diameter is set to Smallest by default. Press OK. Press Ell/Tee. Pick the pipe near the corner end. Each pipe will be broken (to account for the takeout) and a coupling will be put on for each pipe found at the end of the pipe picked.
The pipe lengths are updated to account for the takeout for a 3” grooved 900 elbow. Later, the stocklist will pick up one 3” grooved 900 elbow, one 4”x 3” reducing coupling and one 3” coupling.
If Smallest had been specified, the program would have inserted couplings with take outs for a 3” elbow. The stocklist will include a 3” grooved 900 elbow, a 4”x 3” reducing coupling and a 3” coupling.
Grooved Outlets and Mechanical Tees
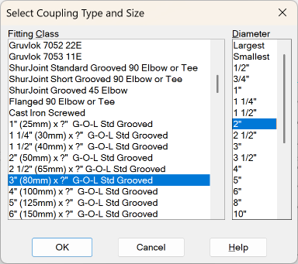
Grooved outlets and mechanical tees work a little differently in that two sizes must be specified.
Example: A main is 3” in diameter and a line off the side is 2” in diameter.
Pick a 3” option from the Fitting Class column. Pick the diameter of the outlet from the Diameter column. Insert the coupling as usual.
Tip - If many grooved outlets or mechanical tees are to be inserted, try the [Multiple Couplings] command.
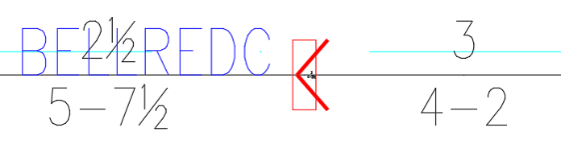
Bell Reducers
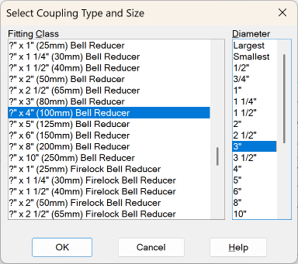
Like the previous section, bell reducers also need two sizes to be specified, but this time, the larger diameter is picked from the Diameter column while the smaller diameter is chosen from the Fitting Class column.
When inserting, be sure to select the smaller pipe. This inserts a bell reducer pointing towards the smaller diameter pipe.
HydraCARDs (Troubleshooting)
For HydraCARDs regarding Coupling Setup: [Click Here]