Appearance
Specifying Items in HydraLIST
Although you can gather Miscellaneous items in HydraLIST for your 3D Risers, we recommend that you use the Parts Tree for this.
However, specifying fabricated pipes for 3D Risers must be done with HydraLIST. You can open the Build 3D Risers toolbar from the Listing toolbar.
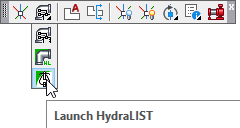
Start HydraLIST by selecting Launch HydraLIST from the Build 3D Risers toolbar.
You must save your drawing prior to selecting this command.
A HydraLIST file will be created with the same name as your drawing but with the HLF extension. The file will be in the same folder as your drawing file.
Pick the Mains tab and create a new Section I.D.
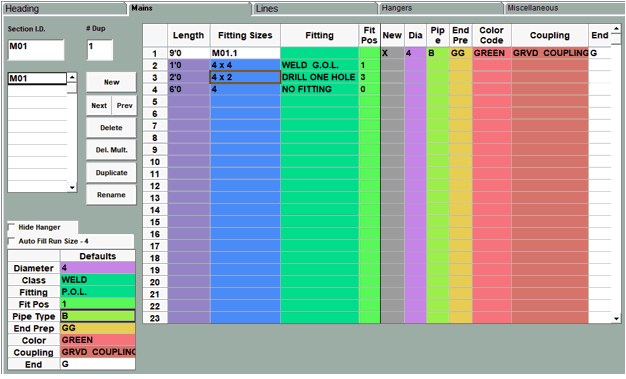
Here a riser pipe has been created with a 4” outlet for a Fire Department Connection and a 2” drilled hole for a Flow Switch.
Save the HydraLIST file and exit.
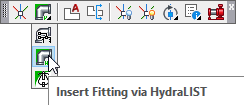
Select Insert Fitting via HydraLIST.
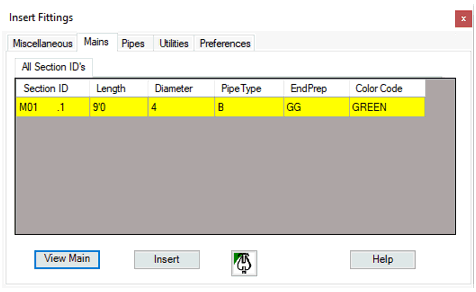
The Insert Fittings dialog box will appear. Pick the Mains tab.
Here is the main that was fabricated. If you select View Main, another dialog box will appear describing the main.
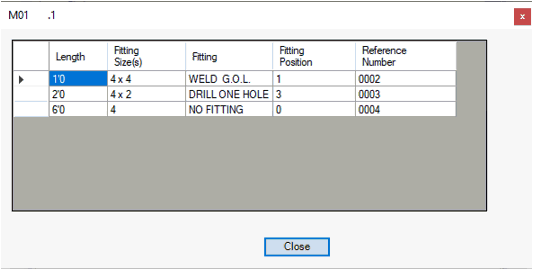
From the Insert Fittings dialog box, you can Insert the main into your 3D Riser or open HydraLIST to modify the fabricated pipe or create a new one.

 HydraDOCs