Appearance
Tagging Example 6

Tagging a tree or loop with welded mains and welded lines with a grooved tee at top of riser nipple
For a tree or loop system with one or more welded mains and welded lines, tagging usually requires one tag per main and one Stop sign per loop as well as tags for each riser nipple and branch line. Drops or sprigs also need to be defined.
1. Follow either previous Example 1 or Example 2 to tag mains.
2. Insert a Stop sign at a coupling somewhere on the loop. See Example 5 for instructions.
Put one Stop sign in for each loop.
3. Tag riser nipples using Examples 3 and 4 as guides.
4. Tag lines using Example 4 as a guide.
5. Define Drop or Sprig elevations with DefLines.
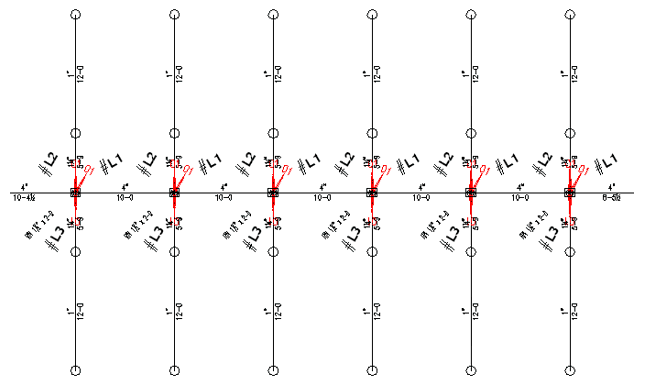
In the following example, the first two steps have already been completed on the loop. The main has been tagged as _A (Space A). You will start at item 3 with the tagging of the riser nipples. You will be using a grooved tee at the top of each riser nipple. There are four different branch line configurations (each side of riser nipple, each side of loop). All riser nipples are identical.
In addition, grooved couplings have already been cut into the branch lines using the Multiple Couplings command from the Couplings toolbar.
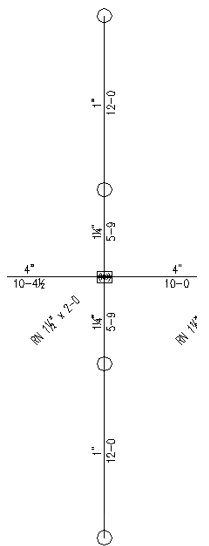
Here is a typical branch line already sized and with couplings cut in. Riser nipples will be tagged from the bottom to the top. The grooved tee at the top will be included with the riser nipple. Since all riser nipples are the same in this example, they can be all tagged at once.
Pipe sizes have been omitted from subsequent steps for clarity.
Step 1 - Start the New Tag command and set as New. Set the Listing Tag ID as L1.
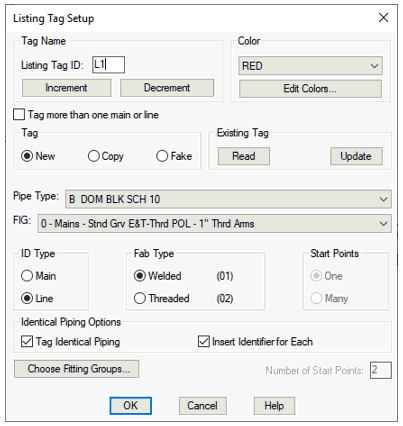
Tag Type is Line. Select Tag Identical Piping and Insert Identifier for Each. Press Enter.
Pick any riser nipple.
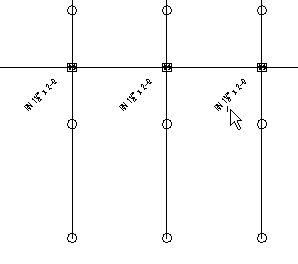
Step 2 - You will be asked if this tag is for the top or bottom of the riser nipple. Select Bottom.

Step 3 – Use a window to select all of the riser nipples that should be tagged and right click. Then, place the identifier tag.
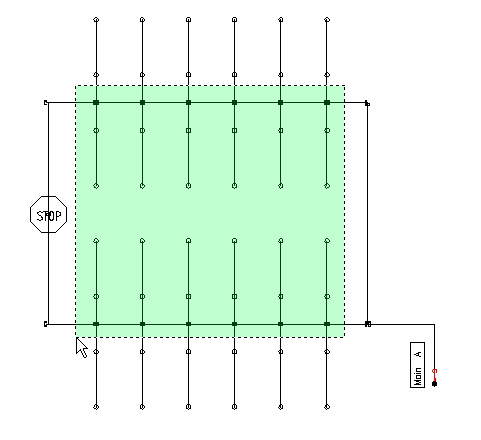
Note: If this system were listed as tagged, the branch lines would get picked up as part of the riser nipples. This may be what you want. If it is, you would want to tag the upper and lower riser nipples with different ID’s, since the upper and lower halves of the loop have different branch line configurations (the lengths of the starter pieces are different). If this note applies to you, your tagging is done on this system. If you want each side of each branch line to have its own ID, proceed onto the next series of steps.
There are four different branch lines, as mentioned previously.
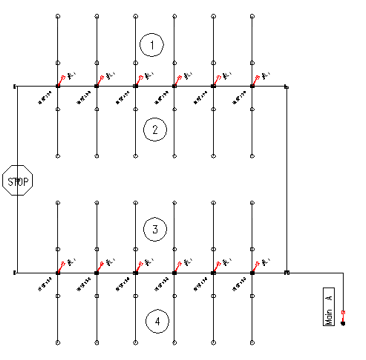
Each series of lines will be tagged from the coupling at the top of the riser nipple out to the end of the branch line. You will tag only the first of these; the instructions are similar for all four. The tagging of all of one type of branch lines was covered previously in Example 4. See this example for additional information.
Step 4 - Start the New Tag command and set as New. Set the Listing Tag ID as L2. Tag Type is Line.
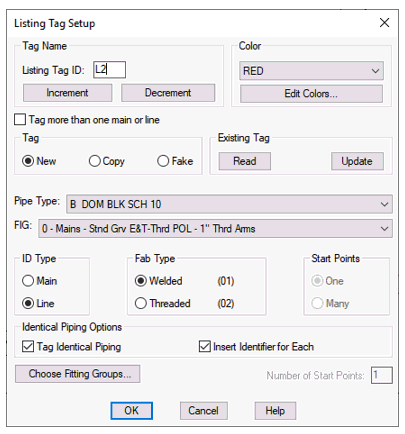
Select Tag Identical Piping and Insert Identifier for Each.
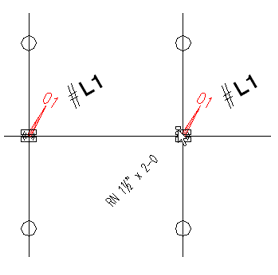
Press Enter. Pick a coupling on any of the branch lines you want to tag as a group.
Step 5 - Use a non-crossing window to select only those couplings on the correct side of the riser nipple. Right Click.

Note: The window can be more easily picked by first zooming in very close to the left most coupling to pick the first corner, then zoom out to pick the other corner.
Step 6 - Pick the line direction. This is the direction that the line or main should be listed in. In this case make sure that Ortho is on and pick upward.
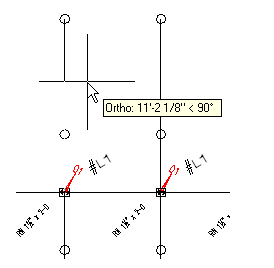
Step 7 - Pick location of identifier tag. All other couplings in your selection area will be tagged.

Step 8 - Tag the other three types of branch lines in a similar manner. The Listing ID will increment automatically; L3, L4 and L5.

 HydraDOCs