
 HydraDOCs
Appearance
Revit Toolkit
Layer(s): Varies
Ribbon: Elevate Panel
Opens the Revit Toolkit. Use these tools to export your HydraCAD project to a Revit model for coordination. All Revit Tools require that your drawing be elevated to 3D before using them.
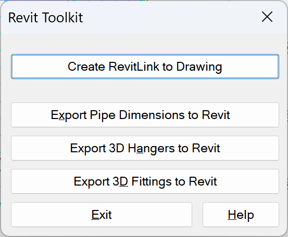
Create Revit Link to Drawing
Create Revit Link to Drawing was explained in the previous topic. Please refer to that section.
Export Pipe Dimensions to Revit
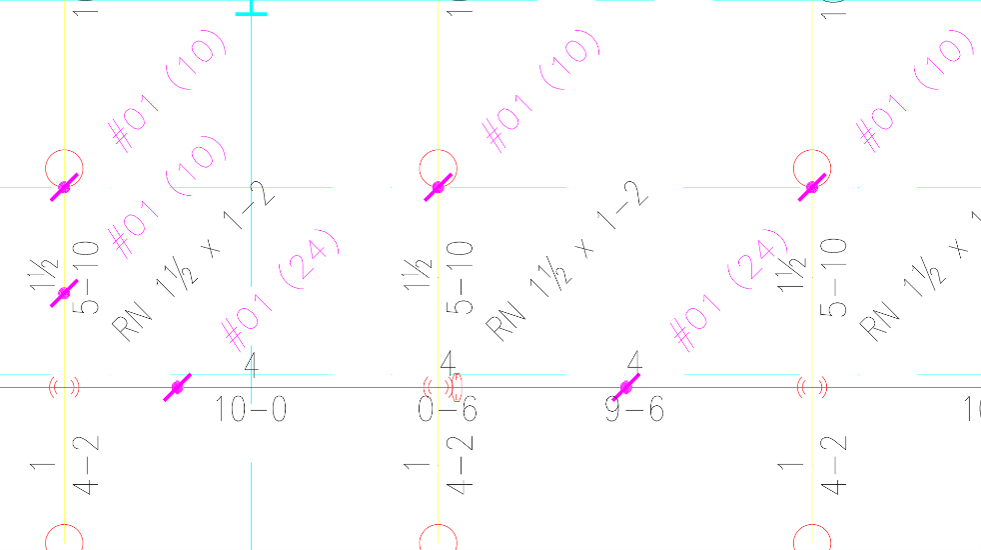
Export Pipe Dimensions to Revit adds pipe sizes to the linked Revit project. Have both HydraCAD and Revit open with your project. The HydraCAD drawing should be in the 2D view. Have pipe sizes visible.
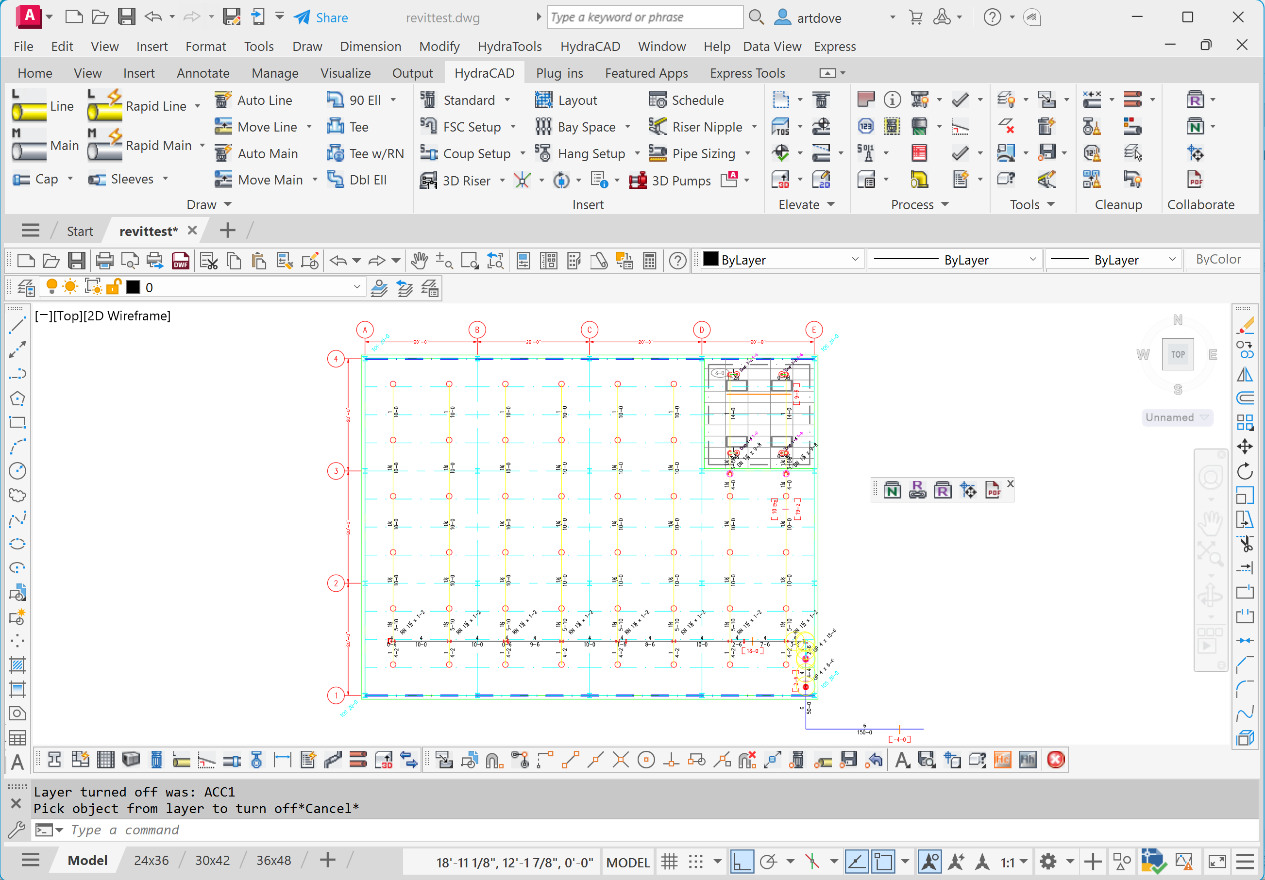
Pick Export Pipe Dimensions to Revit. This will create a drawing file in the project folder having the drawing's name with –Annotations appended to the end.
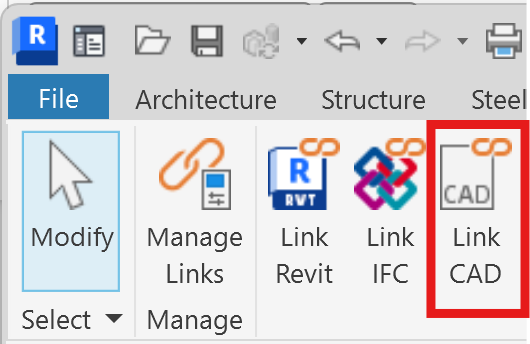
From the Revit Insert tab, pick Link CAD.
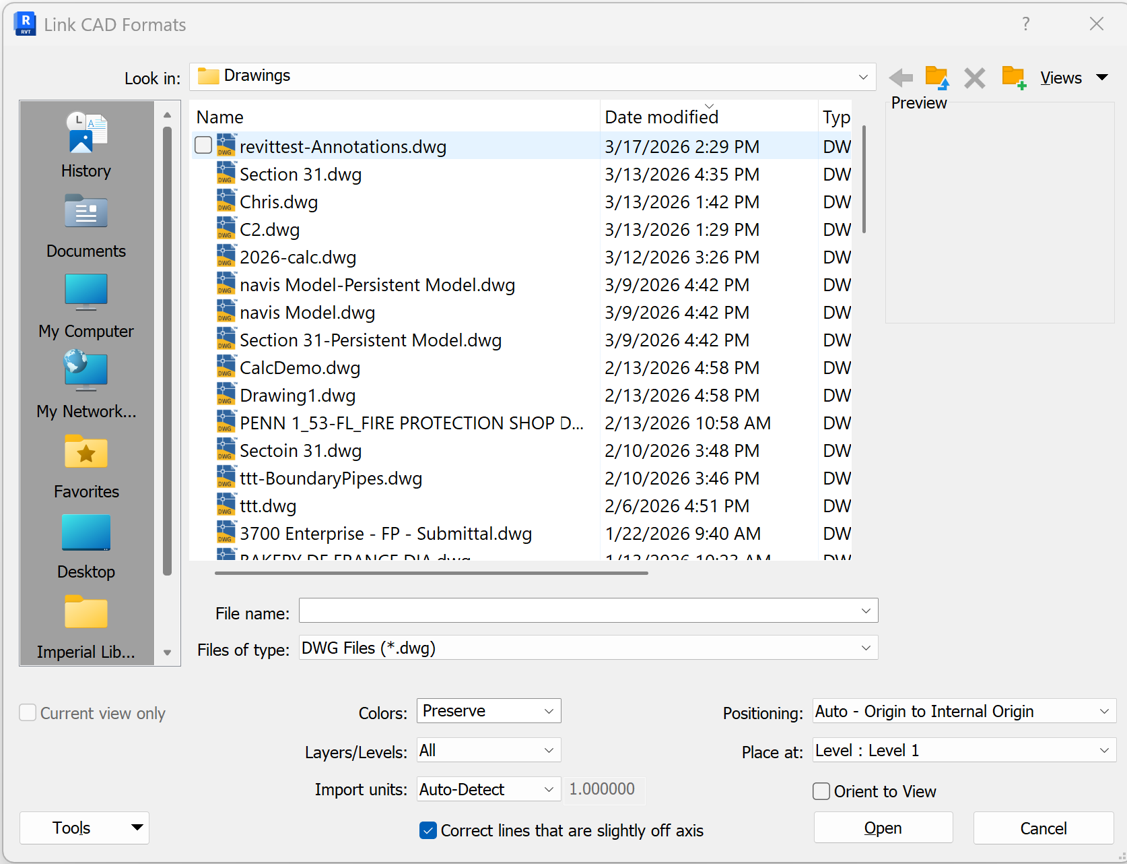
Select the appropriate .dwg file. Positioning: should be set to Auto – Origin to Internal Origin. Place at: should be set to the corresponding level for your annotation file.
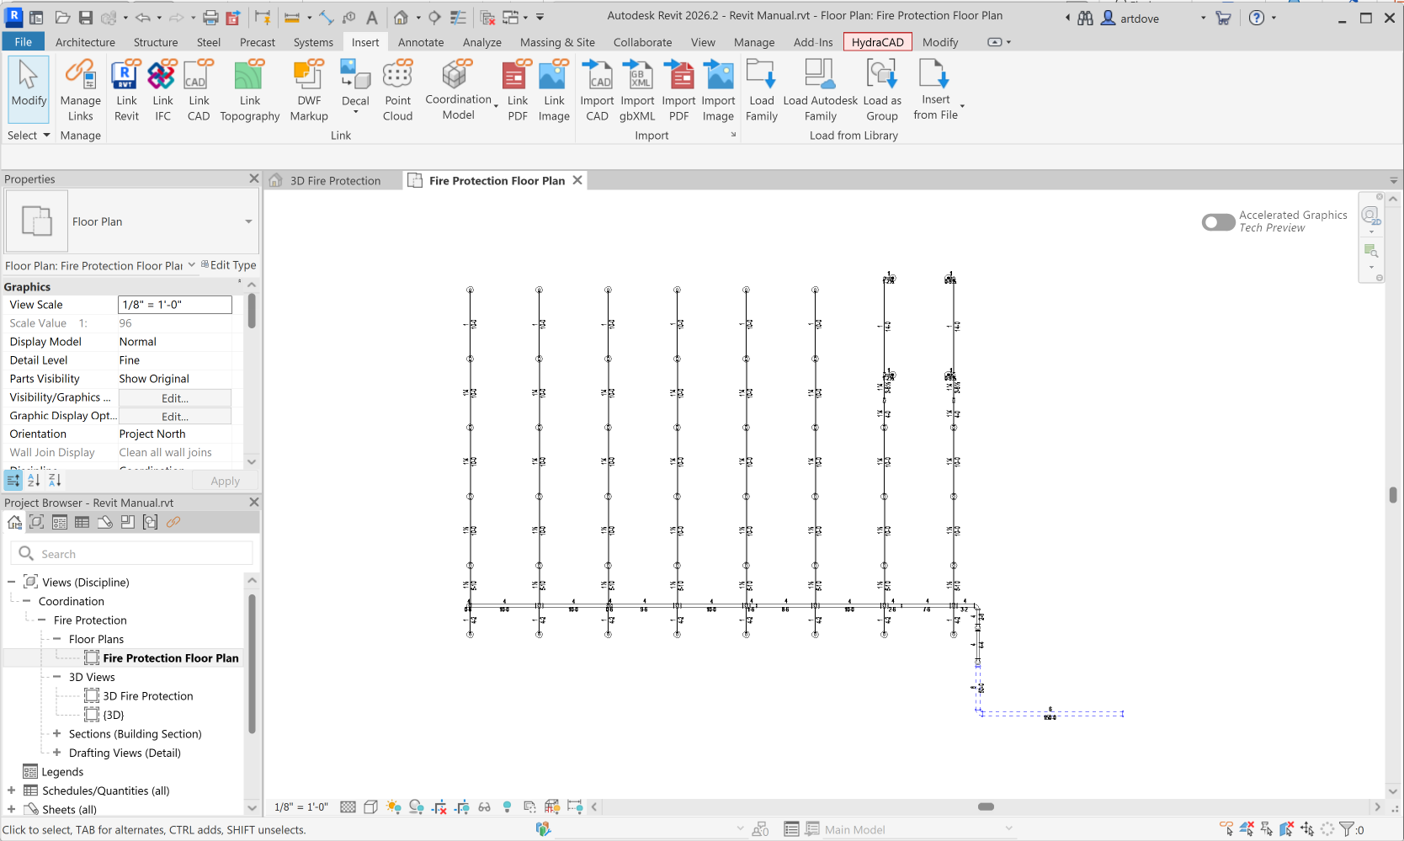
This will insert the pipe dimensions into the Revit model. The results can be seen by looking at a floor plan view.
If changes are made to your project in HydraCAD, repeat Export Pipe Dimensions to Revit to make an updated annotation dwg file.
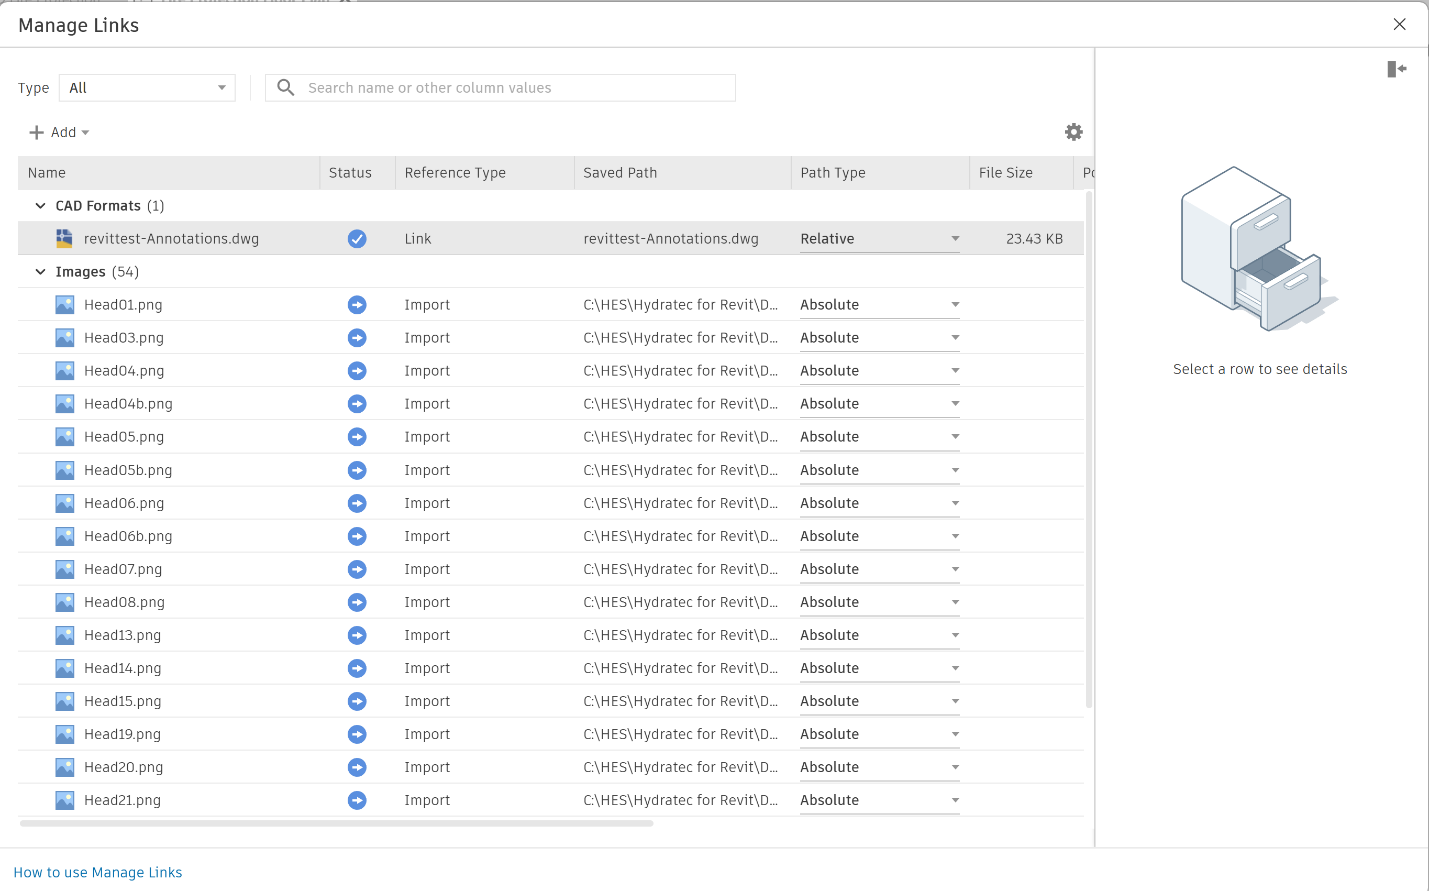
Open Revit to the corresponding project. In the Project Browser, at the very bottom of the list, right-click on Revit Links and pick Manage Links.
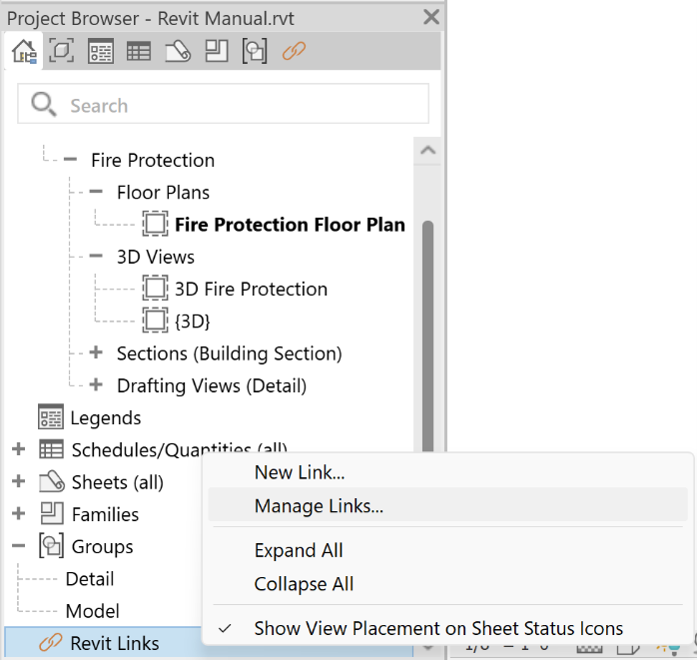
Pick the CAD Formats item. Select the appropriate dwg file and pick the Reload button. This will update your project.
Export 3D Hangers to Revit
Export 3D Hangers to Revit
Export HydraCAD 3D Hangers to Revit. 3D Hangers must have been created in the HydraCAD drawing before using this command.
Pick the Export 3D Hangers to Revit button. You have the option of selecting All of the hangers or you can choose Objects and pick with a window. This will create a drawing file in the project folder having the drawing's name with – 3dHangers appended to the end.
It is assumed that the drawing has already been linked to the Revit model via the Link CAD command explained in the previous topic. Next, the Manage Links command must be used to associate the 3D Hanger export as well.
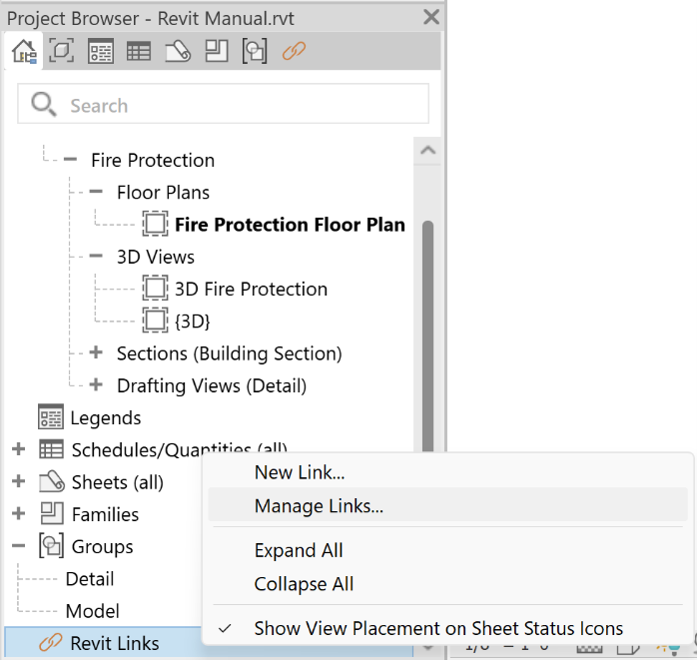
Open Revit to the corresponding project. In the Project Browser, at the very bottom of the list, right-click on Revit Links and pick Manage Links.
Pick the CAD Formats item. Select the appropriate dwg file and pick the Reload button. This will update your project.
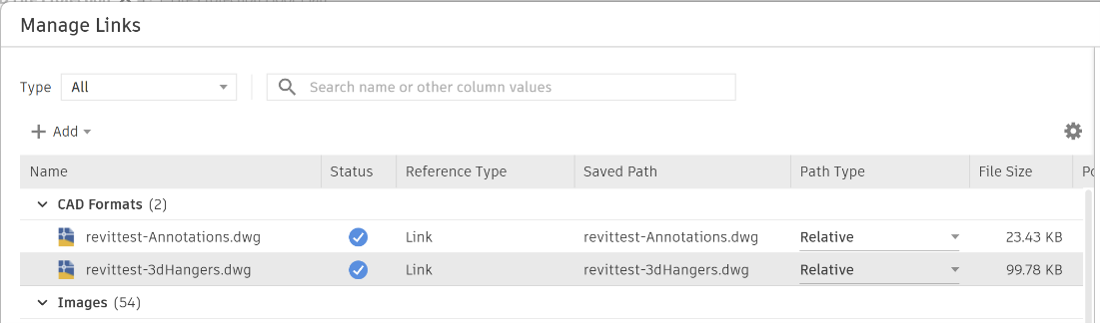
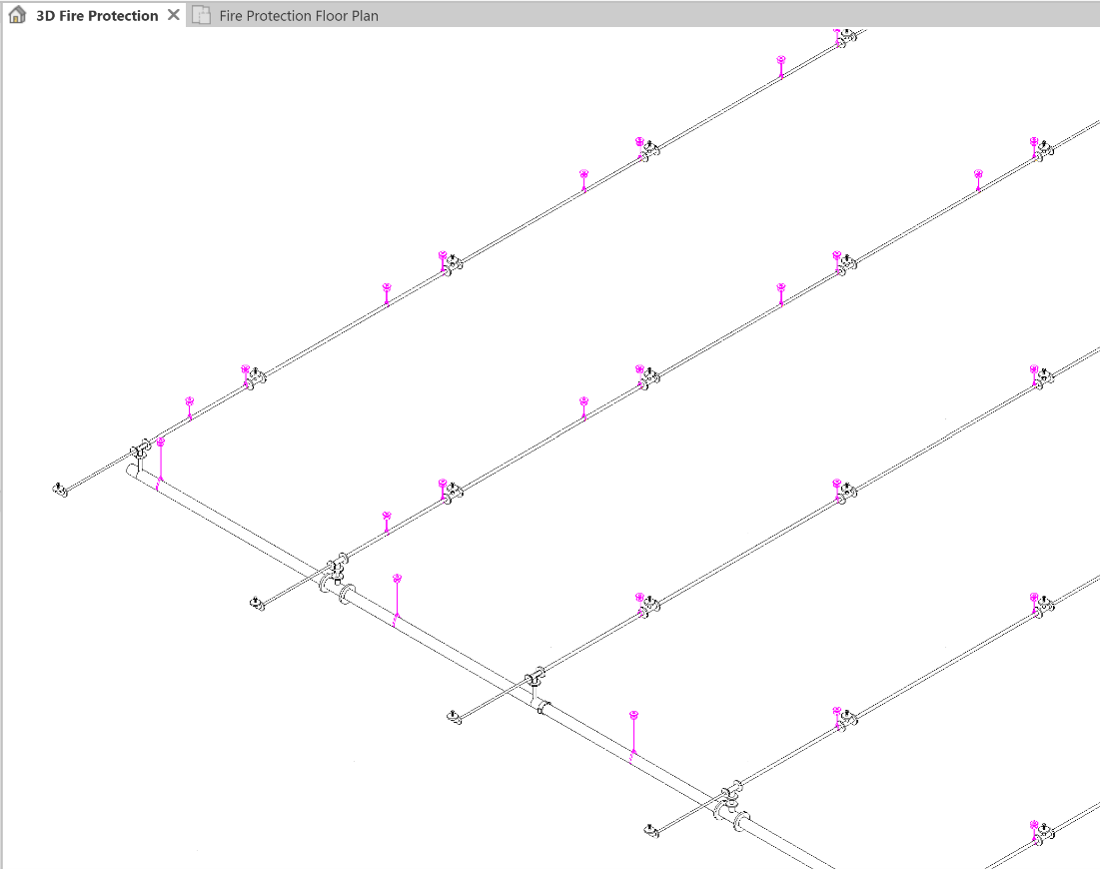
This will insert the 3D Hangers into the Revit model. The results can best be seen by looking at an elevation plan view.
Export 3D Fittings to Revit
Export 3D Fittings to Revit
Export HydraCAD 3D Riser fittings to Revit. Open a HydraCAD drawing with 3D Fittings inserted.
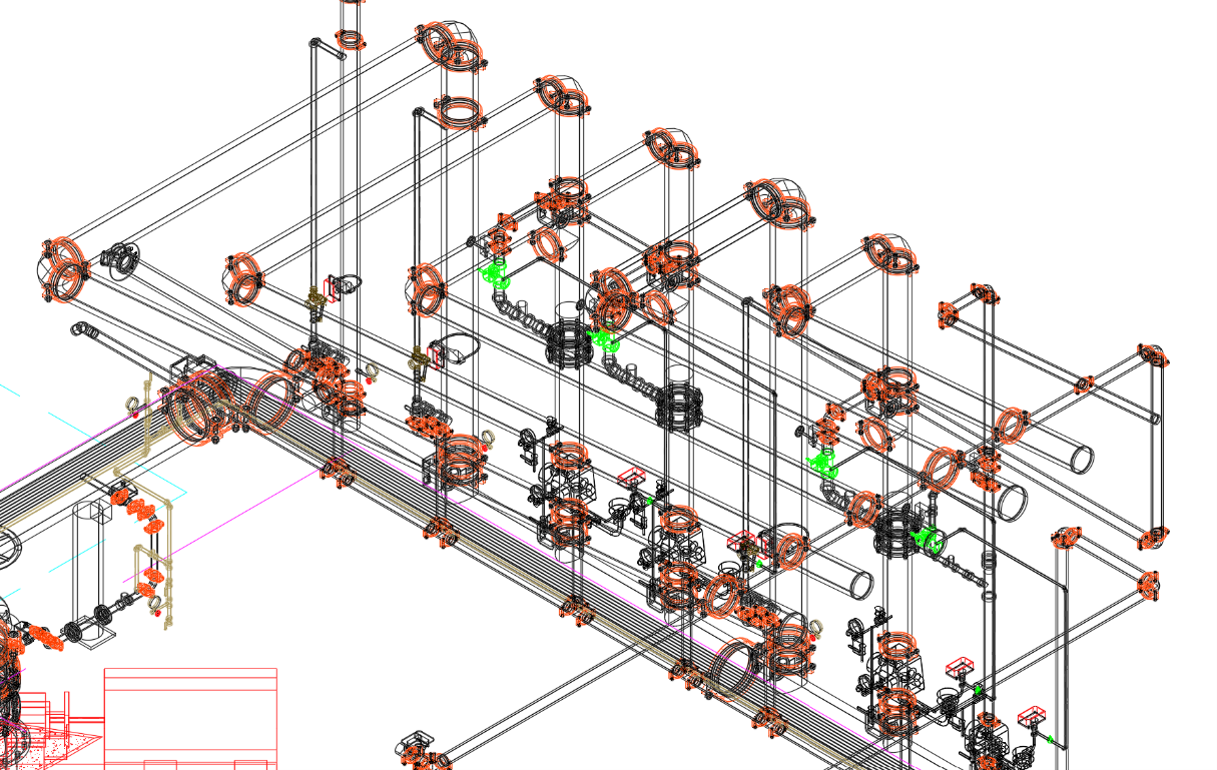
Select Export 3D Fittings to Revit. You will be prompted to select the 3D Fittings. You have the option of selecting All of the fittings or you can choose Objects and pick with a window.
A new drawing named 3dDetails will be created with only the 3D Fittings remaining. The drawing file will be saved to \HES\HydraCAD\Ver50\Temp.
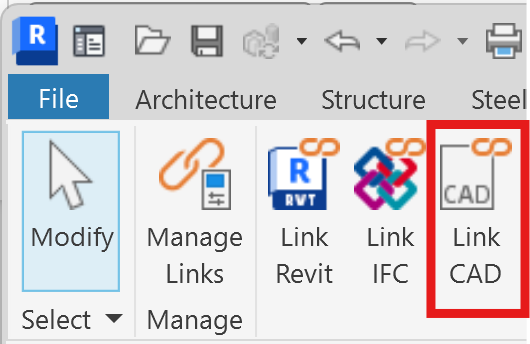
Open Revit to the corresponding project. From the Revit Insert tab, pick Link CAD.
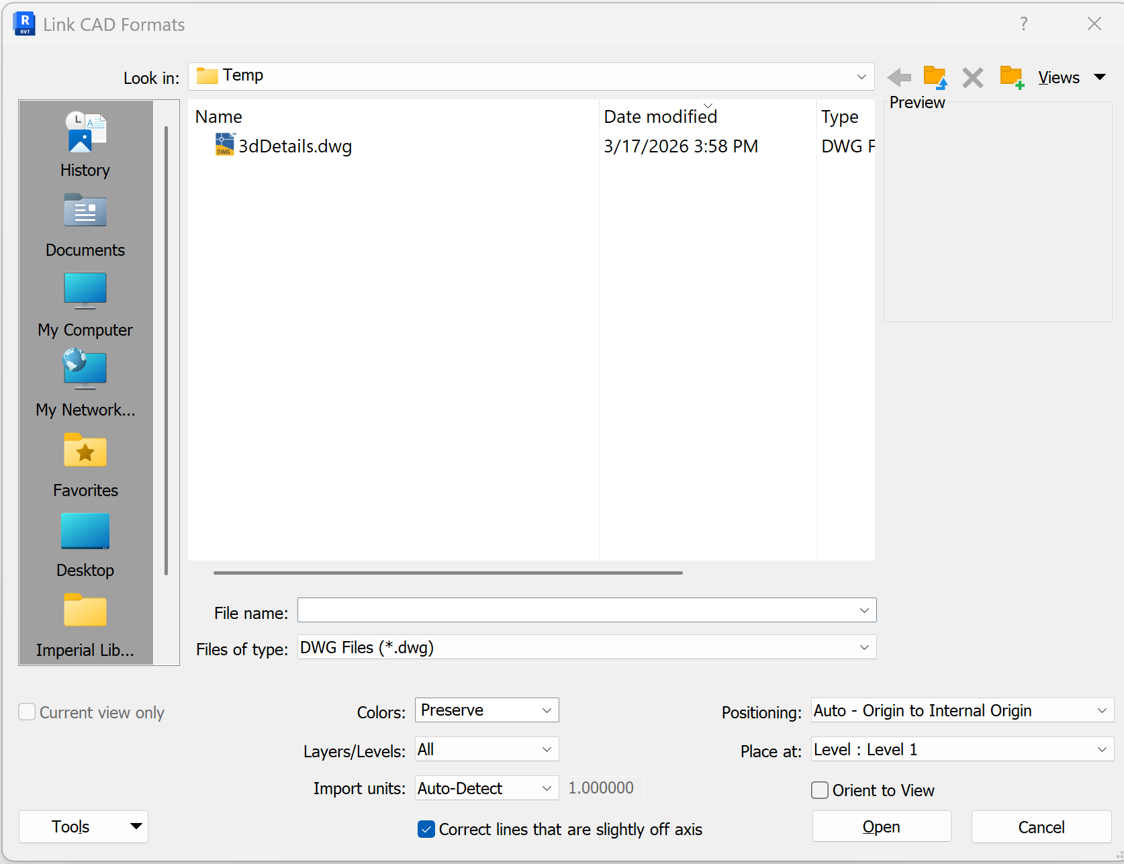
Select the appropriate .dwg file from the \HES\HydraCAD\Ver50\Temp folder. Positioning: should be set to Auto – Origin to Internal Origin. Place at: should be set to the corresponding level for your annotation file.
An elevation view will show the 3D Details best.
HydraCARDs (Troubleshooting)
For HydraCARDs regarding Revit Toolkit: [Click Here]