 HydraDOCs
Appearance
Navisworks Toolkit
Layer(s): Various
Ribbon: Elevate Panel
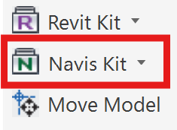
Opens the Navisworks Toolkit. Use these tools to export your HydraCAD project for insertion into Navisworks Manage for coordination and collision detection. All Navisworks Tools require that your drawing be elevated to 3D before using them.
Construction coordination using 3D Building Information Models of the facility and mechanical systems is a common occurrence. Precise location of building model components is critical to ensure accuracy of the BIM model and for clash detection. How the HydraCAD Model will appear is specified in the 3D Modeling Toolbar > 3D Modeling Options.
Export Piping to Navis
Export Piping to Navis will export the drawing to a version that can be appended to a Navisworks model. A message box will open displaying the name of the Persistent Model file.
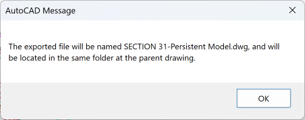
Press OK.
A notification will verify that the exported file has been created.
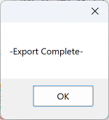
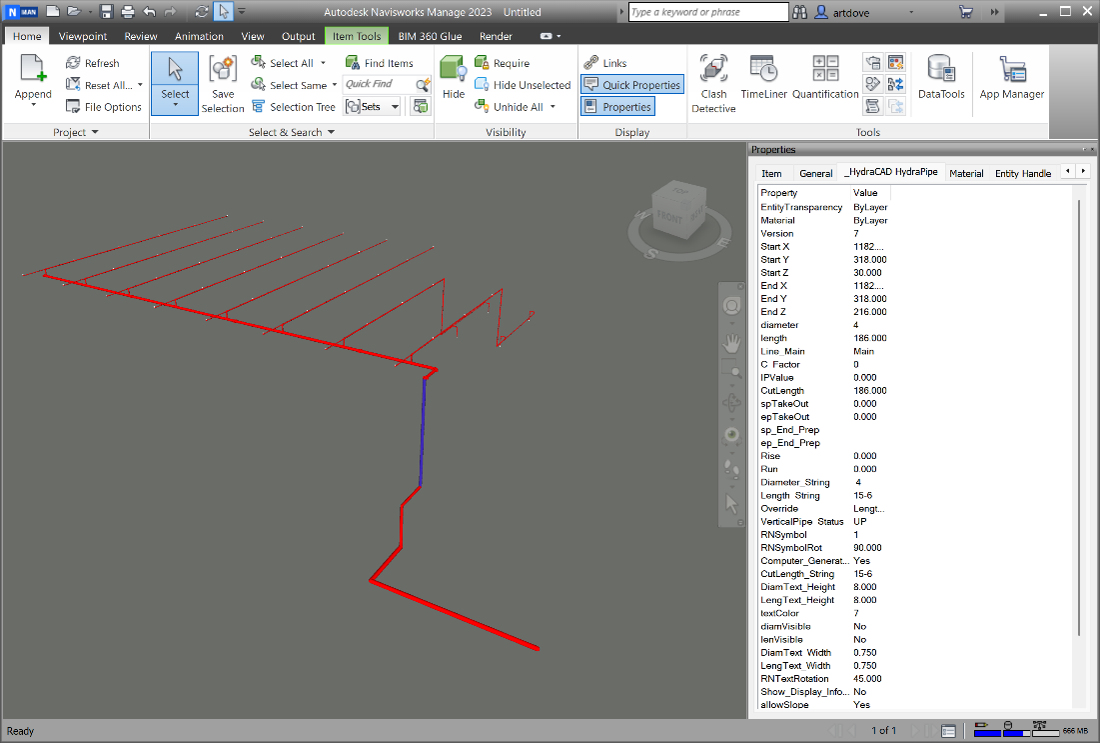
This file can now be Appended to a Navisworks project.
Setup
Setup will open the Pipe Model Settings dialog box.
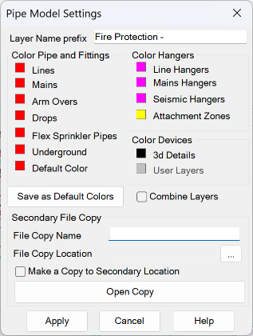
This dialog allows you to group objects within the Persistent Model to designated layers and colors.
Layer Name prefix is the text that will precede each layer name in the Persistent Model.
Color Pipe and Fittings, Color Hangers and Color Devices list the layer names that will appear in the Persistent Model. You can change the layer color by clicking on the layer name and selecting a new color.
When Combine Layers is checked, all layers will be combined in the Persistent Model.
Save as Default Colors will save the current color choices and layer name prefix for new Persistent Models.
Whenever a persistent pipe model is made, its name is the HydraCAD drawing model name with Persistent Model appended to the end. The file is saved to the same location as the HydraCAD model.
You have the option of creating a Secondary File Copy of the Persistent Model file. Enter its name and browse to a location using the available fields.
Check Make a Copy to Secondary Location to create the copy. The Secondary File Copy will be made from the HydraCAD-Persistent Model file when you Go to 3D.
Open Copy will open Secondary File Copy drawing file.
Apply will save the current state of the dialog box to the open drawing file. These settings will be used whenever you Go to 3D.
Cancel will close the dialog box and no changes will be made to the current drawing file.
Clash Detection
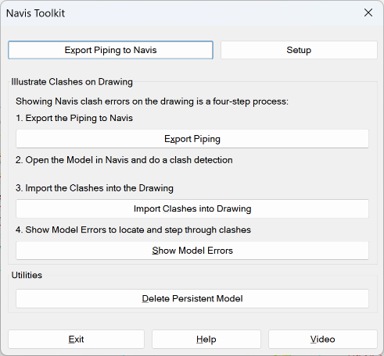
Navisworks Manage contains clash detection tools. The following four steps must be followed to generate a model from the HydraCAD drawing that can be used for this purpose.
Export Piping
Export Piping is identical to the Export Piping to Navis command explained earlier.
Import Clashes into Drawing
Generate a set of clashes in Navisworks that can be displayed in their proper locations in the AutoCAD drawing.
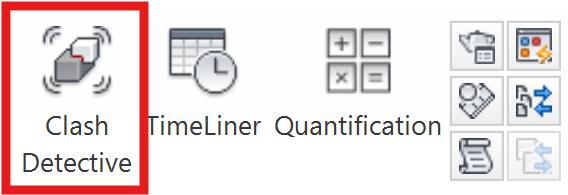
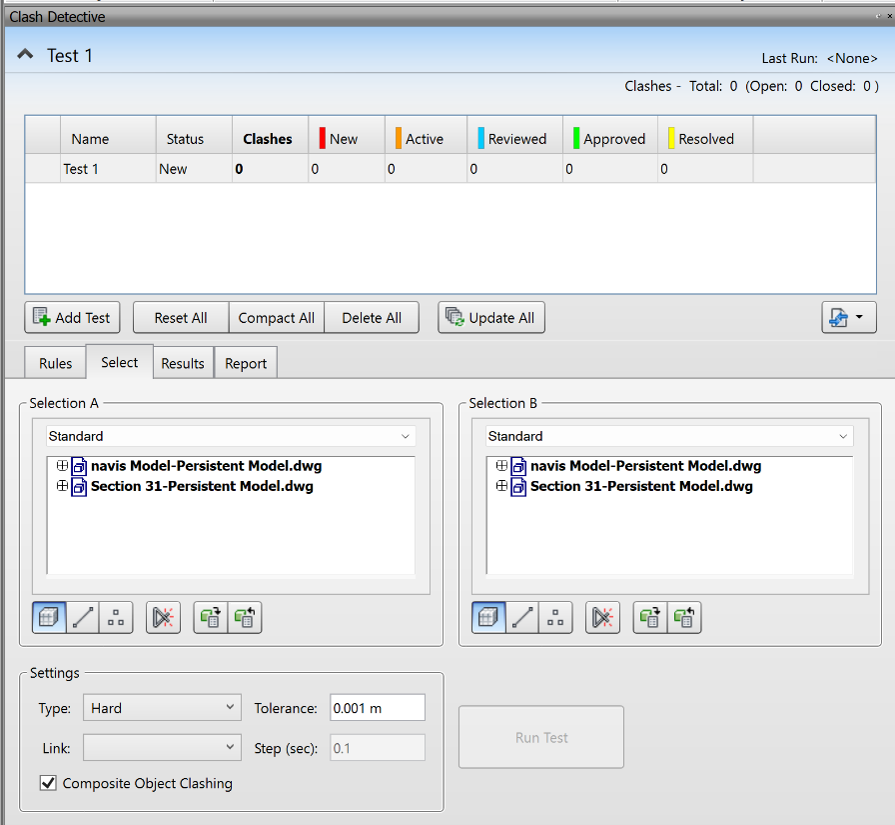
With your HydraCAD Persistent model open in Navisworks, open the Tools > Clash Detective and perform a clash check.
Switch to the Report tab. At a minimum, the report contents need Clash Point and Item Path to be checked. Include only New Clash Types from the statuses section.
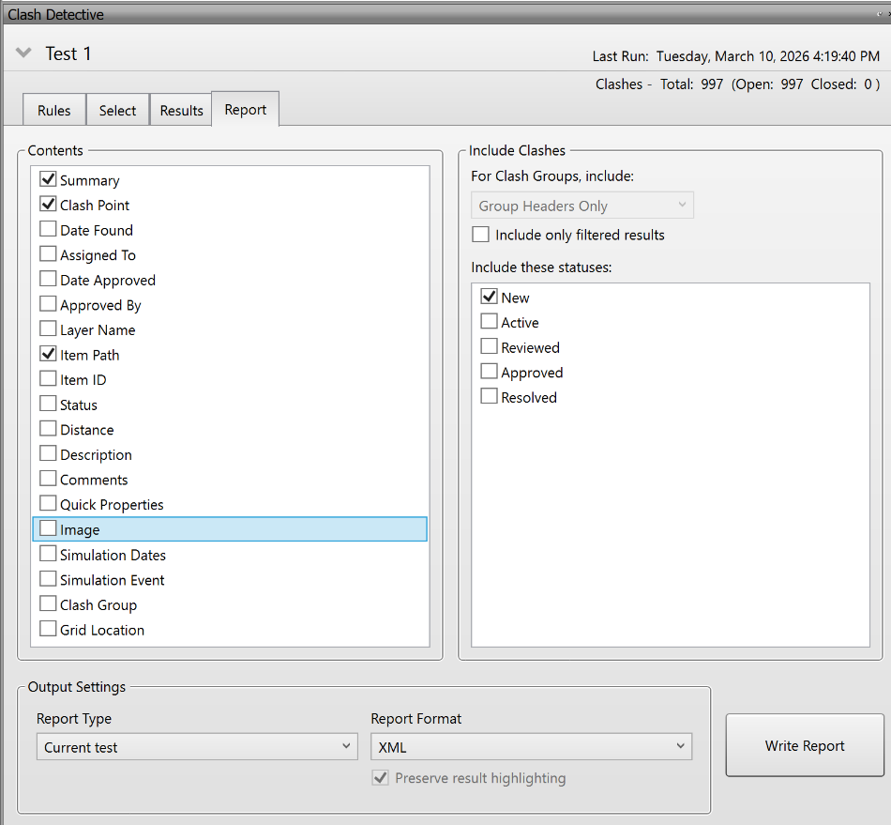
Press Write Report. The report format must be set to Text and the filename must be HCAD_CLASH_DATA.txt.
Save the file to the \HES\Temp folder which typically is on the C: drive. Making it upper case is not necessary but makes it easier to find next time you run an error report.
Leave Navisworks open, as you will be going back and forth between it and your HydraCAD project. In your HydraCAD project, open the Navis Toolkit dialog box and pick Import Navis Clashes into Drawing.
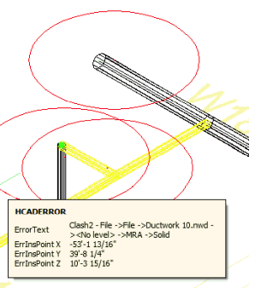
Error bubbles will appear at conflict locations. Placing your crosshairs over the error bubble will pop up information about the error.
Show Model Errors
After importing clash data into your HydraCAD project, open the Navis Toolkit dialog box and pick Show Model Errors, or type SME at the command line to open the Model Errors dialog box.
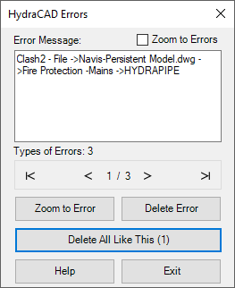
The dialog will list the current errors.
After making changes to your model, Export Piping to Navisworks again. This will update the pipe model drawing.
Switch back to Navisworks and pick the Refresh button to update your model in the Navisworks session. You can now repeat the Clash Detective reports as needed.
Utilities
Delete Persistent Model
Deletes the Persistent Model associated with your HydraCAD project. You can create another one with the Toolkit if desired.
About Persistent Models
Each time a 3D model is made in HydraCAD, new pipes, sprinklers and fittings are created with new and unique object IDs. The first time the HydraCAD model is imported into Navisworks, it is easily checked with other building components for interference.
A problem arises when an updated HydraCAD model is re-introduced to the Navisworks project. When a model is created in HydraCAD, all objects are refreshed with new IDs. Due to the revised object IDs, any previous clash reports are rendered obsolete.
A solution to this problem is to maintain a Persistent Model in HydraCAD for use with Navisworks Manage. As the HydraCAD project is modified, only the objects that have been added, edited or deleted will be changed and receive new IDs. All objects that have not been modified will retain their original IDs.
After the initial persistent model file is created with Navisworks Tools, it will be compared with the updated model made in HydraCAD. Objects within the two models that match are not changed in the persistent model. Objects that are no longer in the HydraCAD model are removed from the persistent model. Any objects in the HydraCAD model that have changed or have been added will be appended to the persistent model as new objects.
HydraCARDs (Troubleshooting)
For HydraCARDs regarding Navisworks Toolkit: [Click Here]