
 HydraDOCs
Appearance
Import Clashes into Drawing
Generate a set of clashes in Navisworks that can be displayed in their proper locations in the AutoCAD drawing.
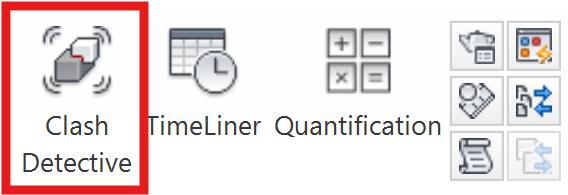
With your HydraCAD Persistent model open in Navisworks, open the Tools > Clash Detective and perform a clash check.
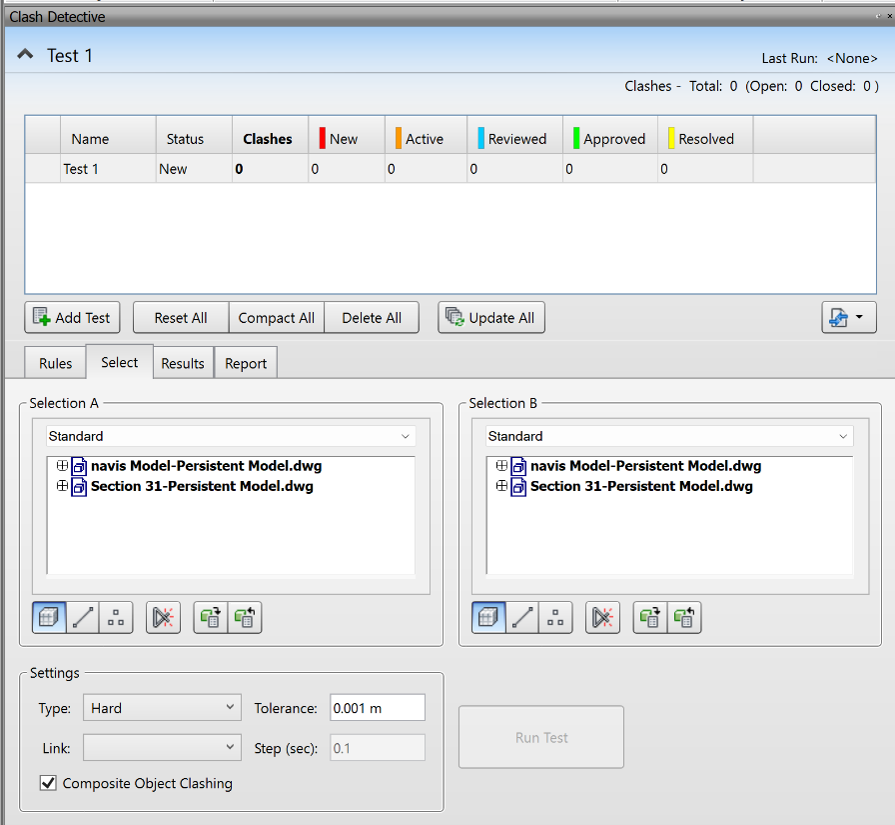
Switch to the Report tab. At a minimum, the report contents need Clash Point and Item Path to be checked. Include only New Clash Types from the statuses section.
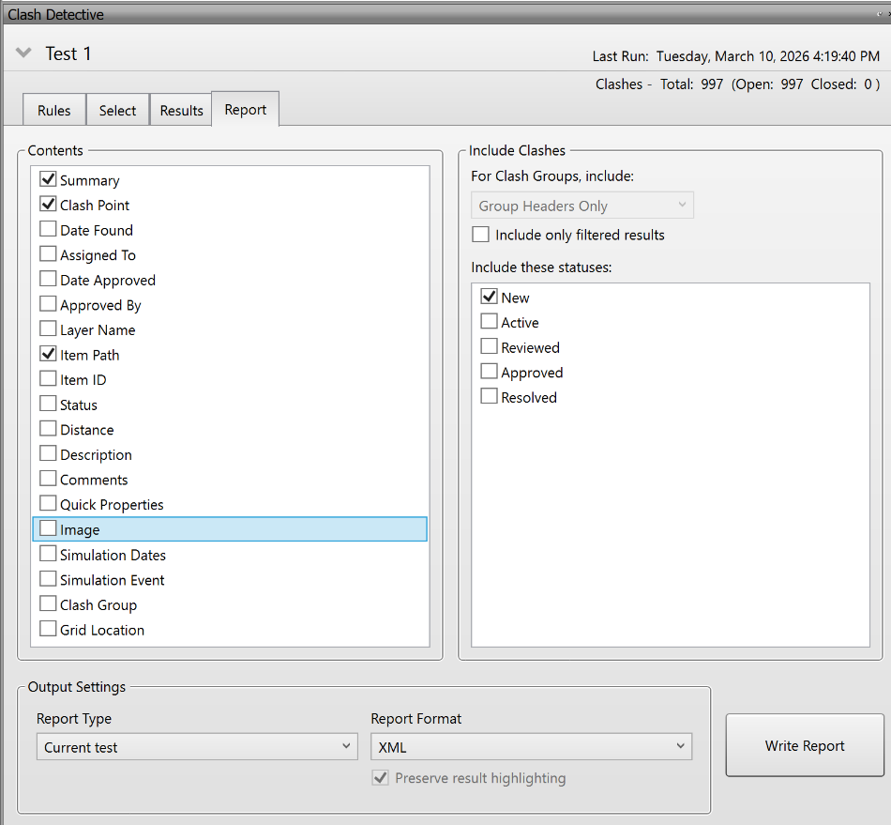
Press Write Report. The report format must be set to Text and the filename must be HCAD_CLASH_DATA.txt.
Save the file to the \HES\Temp folder which typically is on the C: drive. Making it upper case is not necessary but makes it easier to find next time you run an error report.
Leave Navisworks open, as you will be going back and forth between it and your HydraCAD project. In your HydraCAD project, open the Navis Toolkit dialog box and pick Import Navis Clashes into Drawing.
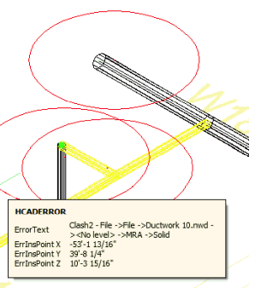
Error bubbles will appear at conflict locations. Placing your crosshairs over the error bubble will pop up information about the error.
Show Model Errors
After importing clash data into your HydraCAD project, open the Navis Toolkit dialog box and pick Show Model Errors, or type SME at the command line to open the Model Errors dialog box.
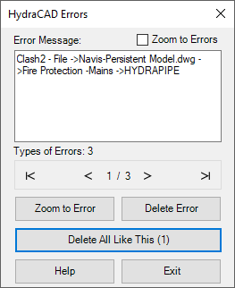
The dialog will list the current errors.
After making changes to your model, Export Piping to Navisworks again. This will update the pipe model drawing.
Switch back to Navisworks and pick the Refresh button to update your model in the Navisworks session. You can now repeat the Clash Detective reports as needed.