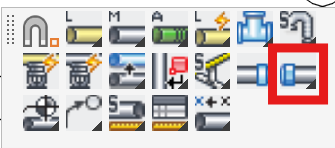
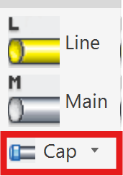
Appearance
Cap
Layer(s): SPRNK2, SPRKDAT1, SPRKDAT2, SPRKDATA
Shortcut: QC
Associated: Plug / Multiple Caps
Ribbon: Draw Panel
Insert a cap at the end of a pipe. Start the Cap command and pick near the end of the pipe for insertion. Enter the takeout at the keyboard or pick the cap location with the mouse. Enter zero to place a cap at exactly the end of the pipe picked
Tip - Do not pick exactly at the end of the pipe when asked to. This can result in the wrong item being capped. Instead, pick anywhere between the midpoint of the pipe and the endpoint.
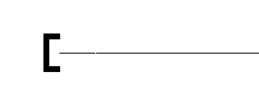
If the pipe is dimensioned, the cap takeout will also be dimensioned.
HydraCARDs (Troubleshooting)
For HydraCARDs regarding Cap: [Click Here]