Appearance
Smart Array
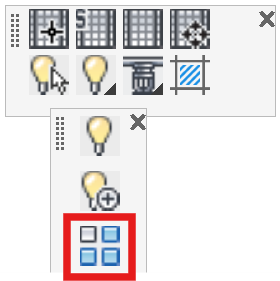
Layer(s): CEILING2
Shortcut: AB
Associated: Insert Light Select Light
Used to array a picked entity. With the number of entities resulting from the spacing and the extents of the picked area. Select Smart Array, then pick the entity that you want to array such as a light.
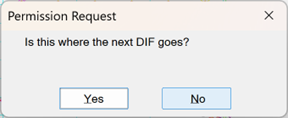
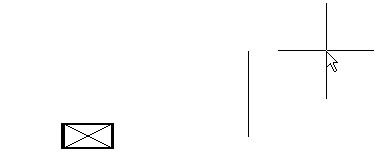
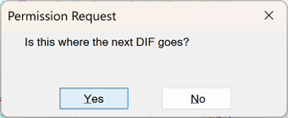
A dialog box will appear prompting with: Is this where the next DIF goes? Press No.
Drag your mouse to the right and enter 12’ at the command line.
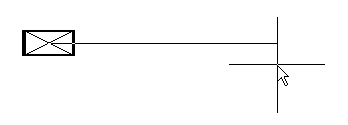
The dialog box will appear again. If you only want to array one row, select Yes.
If you want to array in both X and Y directions, press No as in this example.
Drag the mouse upward.
Enter 20’. You have now entered the **X and Y spacing for the array.
The dialog box will appear again. Select Yes.
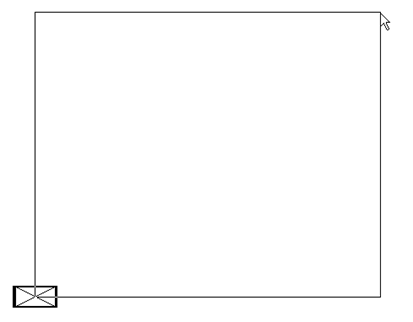
Pick a point showing the farthest reach of the array, in both directions.
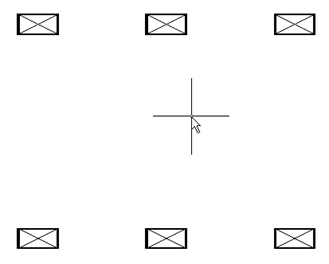
Press Enter and the lights will be arrayed.
HydraCARDs (Troubleshooting)
For HydraCARDs regarding Smart Array: [Click Here]

 HydraDOCs