 HydraDOCs
Appearance
Insert Fitting via Parts Tree
Layer(s): 3D_DETAIL,CONST3D
Shortcut: I3T
Associated: Turn Ski Poles On / Turn Ski Poles Off / Flip / Spin
Ribbon: Insert Panel
Insert 3D Fittings and pipes. Fittings must be selected before they can be inserted. This dialog, initially blank, eventually shows which fittings have been selected and/or are in the drawing already.
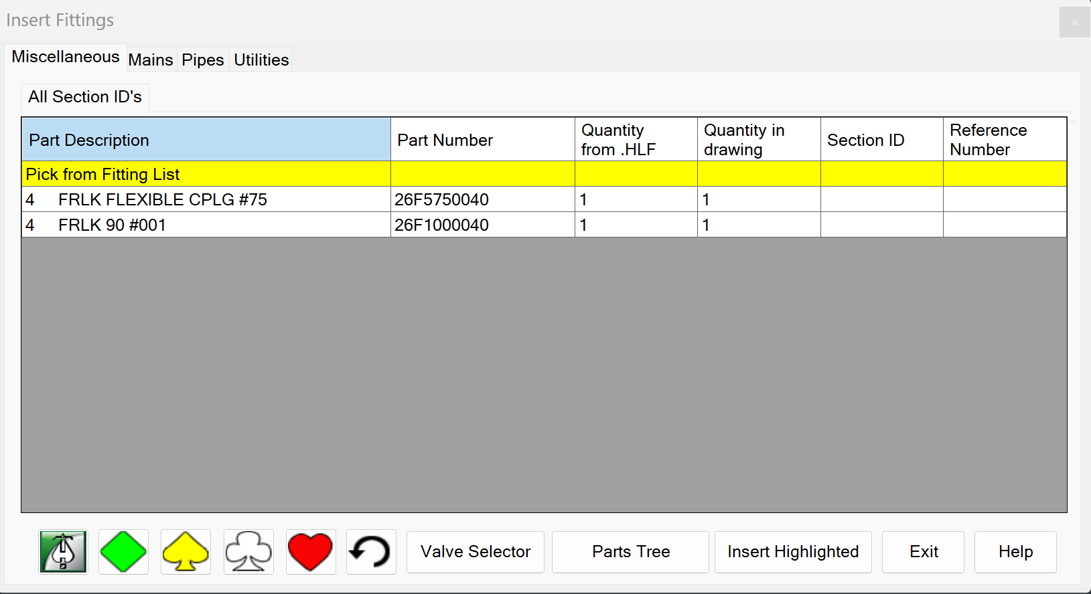
The first tab, Miscellaneous, is used for this command.
The Part Description column has a list of fittings already selected or in this drawing. The Part Number is the HydraLIST part number for that fitting.
The Quantity from .HLF refers to the quantity a fitting in the stocklist. Quantity in drawing shows how many have been inserted in total.
Section ID is for those extracted from a HydraLIST, as is Reference Number.
 The green HydraLIST icon launches HydraLIST. It is not for use with Insert Fittings via Parts Tree, only with Insert Fittings via HydraLIST.
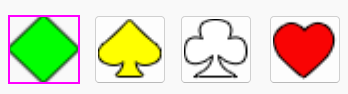
The four card suits can be used to pre-set the orientation of the next fitting. Clicking on one will add a thin red box showing it is selected. Click again to de-select it. Many users would rather that the insertion routine ask them each time for the orientation, so they leave all four de-selected.
The undo button erases the last inserted 3D Fitting.

Selecting a Fitting via Valve Selector
One way to gather fittings is the Valve Selector, which is an online database of parts that is frequently updated. The other is the Fitting List/Parts Tree, which accesses a parts list installed on the hard drive that are not updated frequently.
Picking Valve Selector launches an online database, which may take a moment to appear. Pick a + next to one of these items to expand that branch of items.
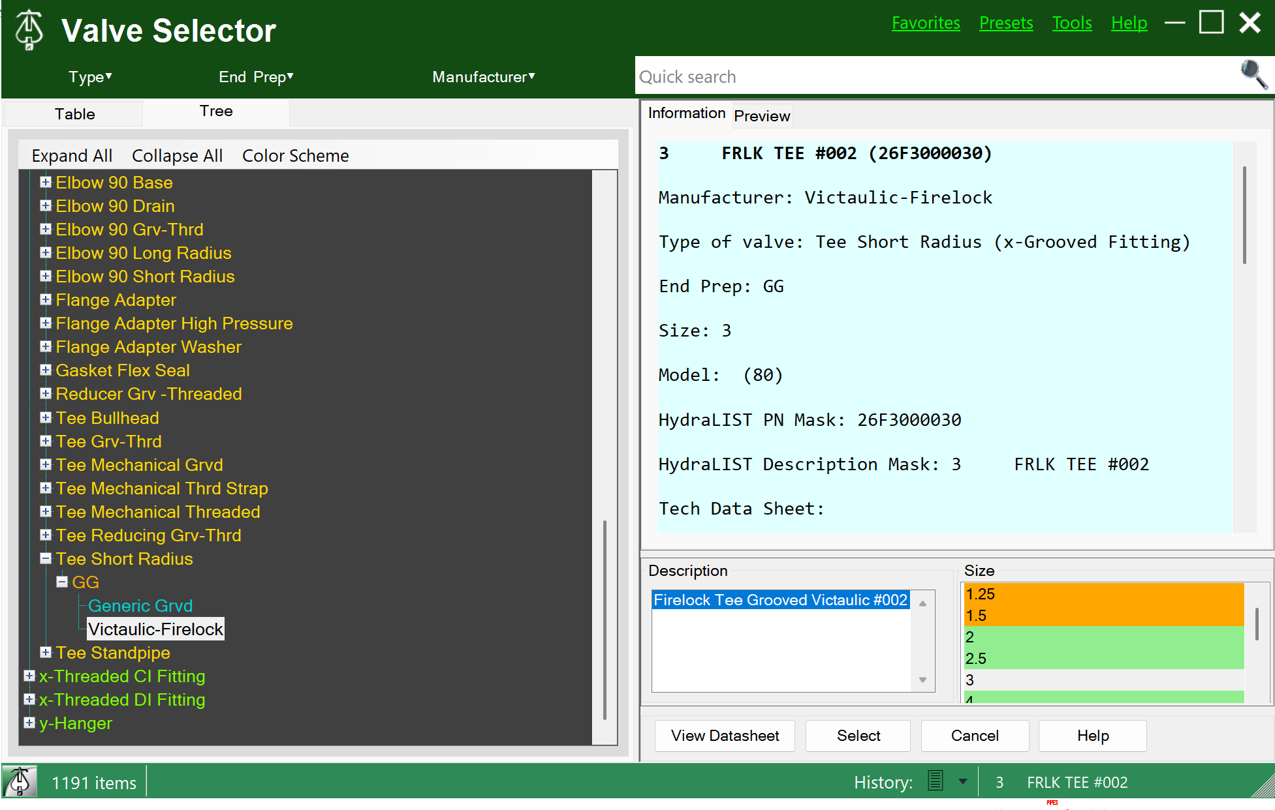
In the image above Tee Short Radius – GG (Groove-Groove) – Victaulic Firelock has been selected. On the right, details about that fitting are displayed, in light blue. There is one item in the Description: Firelock Tee Grooved Victaulic #002. When that is selected, the list of sizes will appear to the right of that, in the Size box. Some of those sizes have a green highlight. That means these diameters have a block associated with them. The orange sizes mean the opposite. Either because the fitting is not available in those sizes, or that Hydratec has not yet built them.
Select a size and then pick the Select button to accept that fitting and you will be returned to the drawing. You will then be prompted to Select a Ski Pole to insert the part. After selecting a ski pole, the fitting will be inserted immediately if you have pre-selected a card symbol, as mentioned above. If you have not pre-selected a card symbol, you will be asked now to pick one:
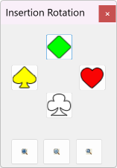
Pick the desired orientation.
After the part is inserted into the drawing the Insert Fittings dialog box will return. It will have the part just selected (if a new part) added to the table.
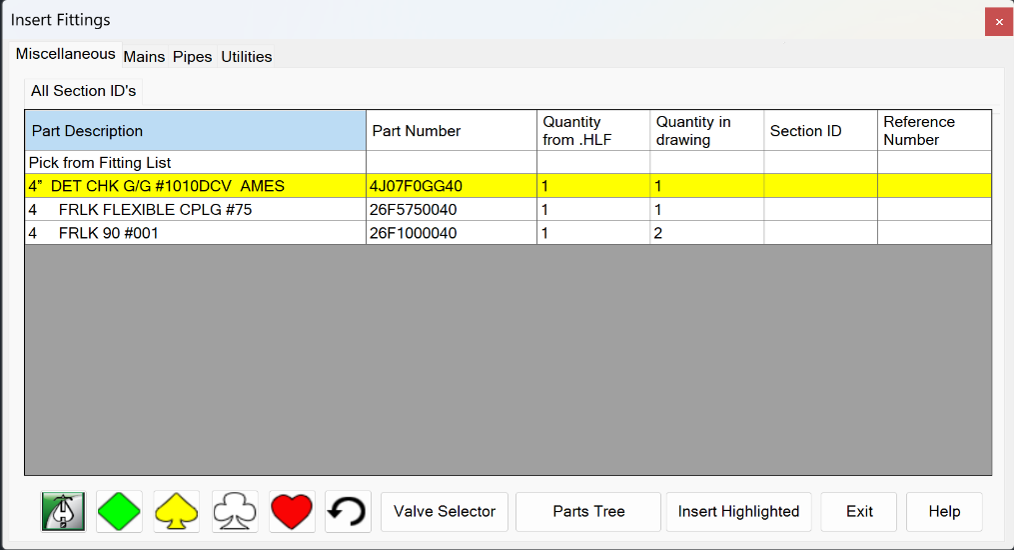
To put in a fitting you already selected, click on the fitting in the table and pick Insert Highlighted.
Selecting a Fitting via Fitting List / Parts Tree
Double-click Pick from Fitting List or picking Parts Tree to launch the legacy parts database.
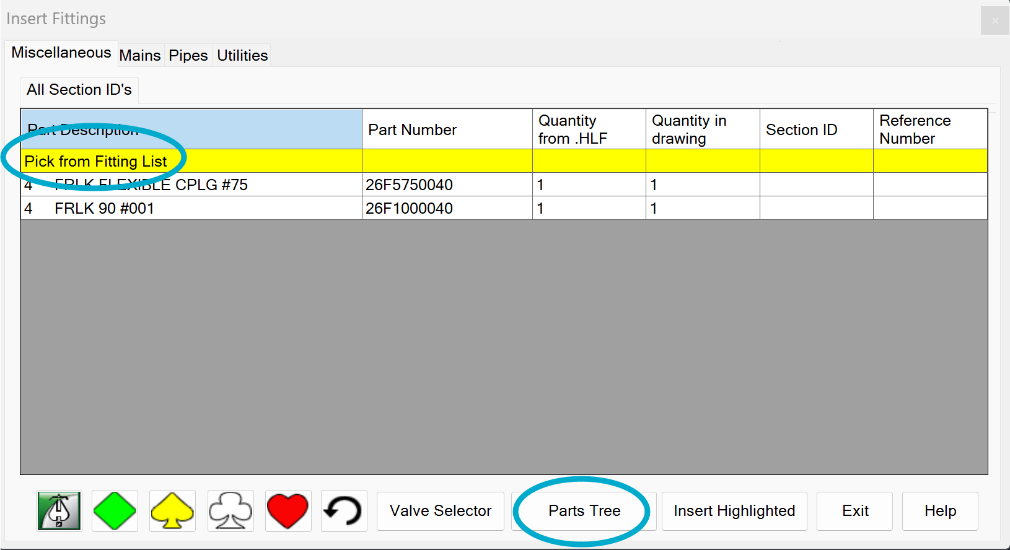
The first time this is selected a graphic will appear at lower right showing the database loading.

The Select Fitting Tree dialog box will appear. Press on the + signs to expand the tree.
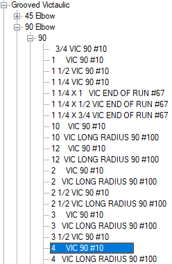
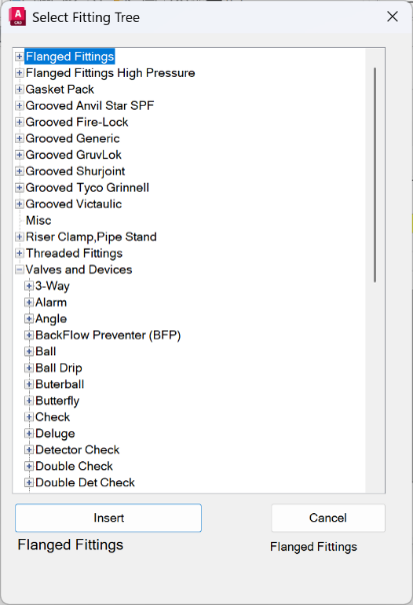
For example, a 4" #10 Victaulic 90 Elbow is selected here. Highlight it and press Insert. You will then be prompted to Select a Ski Pole to insert the part.
After selecting a ski pole, the fitting will be inserted immediately if you have pre-selected a card symbol, as mentioned above. If you have not pre-selected a card symbol, you will be asked to pick one:
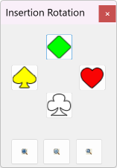
Pick the desired orientation.
After the part is inserted into the drawing the Insert Fittings dialog box will return. It will have the part just selected (if a new part) added to the table.
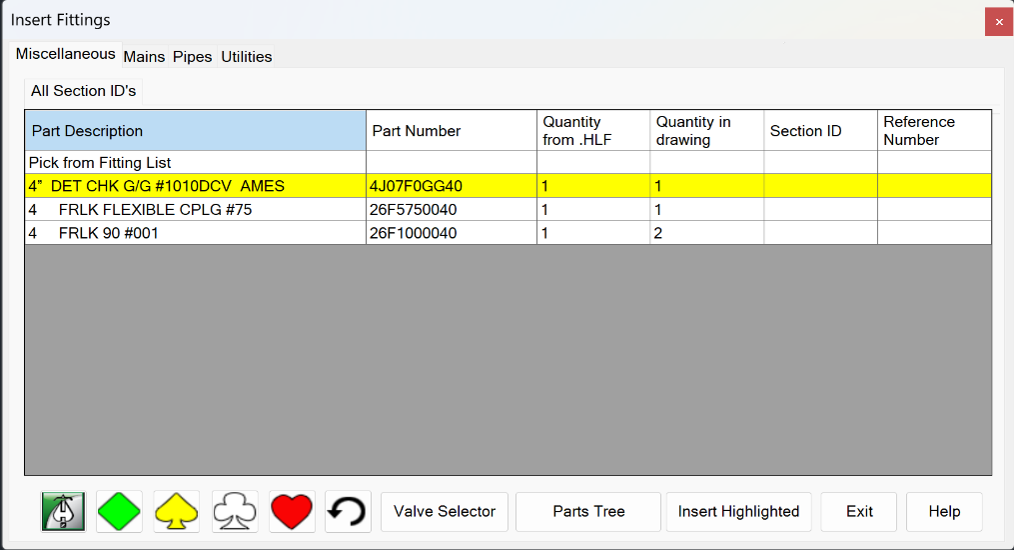
The Insert Highlighted button will also insert whichever fitting in the table is highlighted.
The part will appear in the list where it can be selected again for insertion. Double-Click Pick from Fitting List again to retrieve more parts from the tree which will be added to the list.
HydraCARDs (Troubleshooting)
For HydraCARDs regarding Insert Fitting via Parts Tree: [Click Here]