Appearance
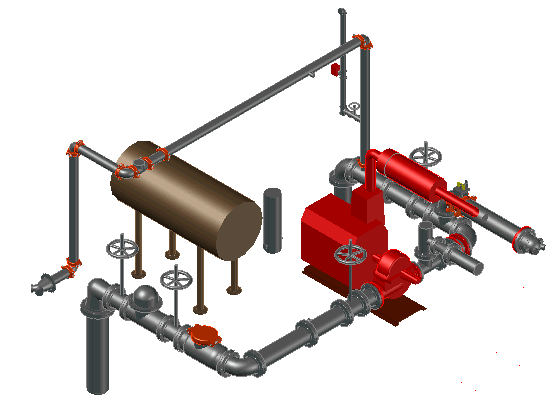
An Overview of HydraCAD 3D Risers
As designers we have all thought of how nice it would be to have three dimensional drawings when laying out complex pump or mechanical rooms. In these situations, clearances are often tight and laying out devices can be difficult.
A solution to the problem is to perform the design with AutoCAD’s three-dimensional capabilities. However, using generic AutoCAD commands to draw in 3D is often difficult and tedious. HydraCAD’s solution is to allow you to produce 3D Risers easily with a few simple tools. You will be able to assemble riser and pump rooms with precision.
We recommend that you place your 3D Risers in the correct position in the plan view of the piping plan. In this way, your riser will become an integrated part of your Piping System 3D Model.
When starting a 3D Riser, you can collect items from a Parts Tree and fabricated pipes from HydraLIST. Valves, fittings, pipe, etc. can be moved around until you are happy with the fit in the designated space. The completed detail is easily stocklisted with AutoList.
The 3D Risers chapter is organized into three sections. The first explains how to create, use and manipulate 3D Risers. The second explains how to build and insert 3D pumps. The third explains how to view and plot 3D Riser models.
*Note*: The below detail can be opened from the HydraTools drop down menu. Pick HydraTools->Tools->Training Drawings and then select Pump Room.dwg


 HydraDOCs