Appearance
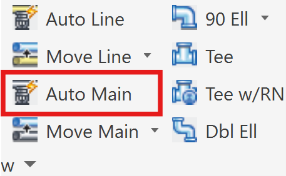
Auto Main
Layer(s): SPRKDAT1, SPRNK2, SPRKDATA
Shortcut: AUM
Associated: Main / Riser Nipple Setup / Size Pipe Setup
Ribbon: Draw Panel
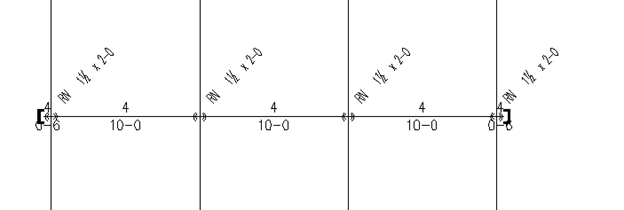
Connect mains to lines after the lines have been drawn. Through the Auto Main command, lines and mains are broken at their intersections. Riser nipples and pipe dimensions may be included. The example below shows a series of lines and a main ready for connection. The main has been drawn on top of the existing lines. Note, the main extends beyond the lines on both sides.

When you select Auto Main, the AutoMain Setup dialog box will appear.
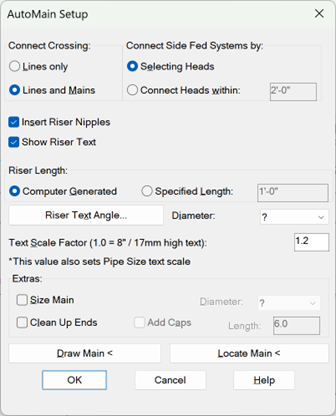
Select Lines only or Lines and Mains to process.
Select if you want Riser Nipples and Riser Text.
The riser nipple lengths can be Computer Generated (recommended) or Specified Length. If Computer Generated the lengths will be calculated from relevant pipe elevations. If Specified Length is selected, you will have to know and enter the Riser Length in the appropriate field.
The Text Scale Factor controls the size of the riser nipple text. This setting also controls the pipe size text height, so be aware of the implications of changing this.
You have the option of selecting a Diameter and adjusting the text formatting. If you would like HydraCAD to select the riser diameter through AutoCalc, leave the diameter as a ?, otherwise select the diameter you want.
If you are going to size the mains, check the Size Main box and select a diameter from the Main Diameter list.
You can also Clean Up the excess main ends beyond the last lines. If you have chosen this, you can Add Caps to these ends with a specified nipple length.
Use the Draw Main button to draw a main from a picked point to a picked point. Use the Locate Main button to move the main to a specified location from a reference point, such as a steel beam.
Tip - it is not necessary to use the Draw Main and Locate Main commands in this dialog box. You can draw the main and locate it any way you want (such as offset) before starting this command.
Press OK to begin. You will be prompted to pick the main pipe. Pick the main between two lines.
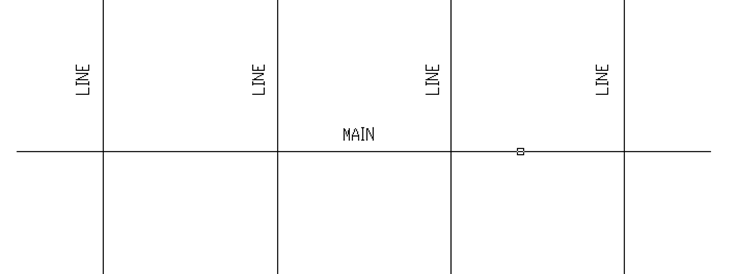
The lines and mains will be broken at all intersections. Riser nipple symbols and dimension labels will be inserted. The mains will be dimensioned as specified. The extra main pieces on either side of the branch lines have been erased and caps added.
The example below shows how to use the Auto Main command to connect a main to branch lines in an end feed arrangement. First, start the Auto Main command and configure the Main Setup box as required.
Use the Draw Main and Locate Main buttons to insert the main below the branch lines.
HydraCAD will prompt with:
Please pick the main pipe
Pick the main at any location. Since the main chosen does not cross any branch lines, HydraCAD will prompt with:
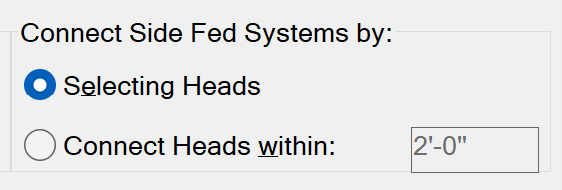
Please pick sprinkler heads to connect to this main.
This prompt will occur if Selecting Heads was specified in the dialog box.
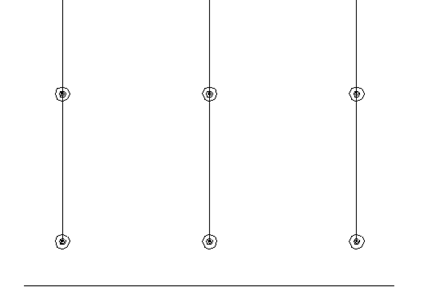
Pick the first sprinklers on the branch lines. HydraCAD will insert lines to intersect with the main.
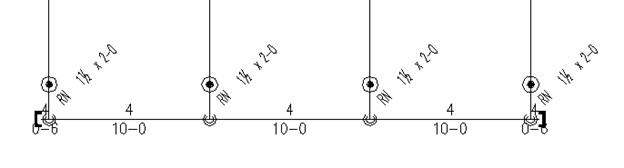
Riser Nipples and pipe sizes will be inserted according to the criteria set in the AutoMain Setup box.
If Connect Heads within was selected, HydraCAD will connect all lines where the sprinklers are within the specified distance.
HydraCARDs (Troubleshooting)
For HydraCARDs regarding Auto Main: [Click Here]