Appearance
Move Model

Layer(s) affected: Varies
Alias: None
Associated Commands: [Go to 3D]
Example video of Move Model
Use this command to line up your HydraCAD 3D Model for coordination in Revit or Navisworks. Your project should be in 3D and in the Plan view.
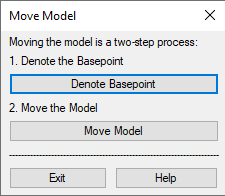
Starting the command will open the Move Model dialog box. The procedure is a two-step process.
Select Denote Basepoint. The System Boundary dialog box will open.
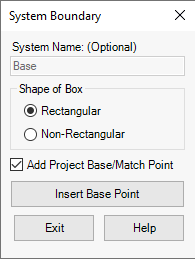
The project Base point is the point where the model will be moved to.
The Match point is the reference point on the existing model that will moved to the Base point.
For the Shape of the Box, select from Rectangular or Non-Rectangular.
Use Non-Rectangular to define a boundary with multiple picks. The boundary will close automatically after you have made your picks and right click to finish.
Check Add Project Base/Match Point.
Select Insert Base Point.
You will be prompted to Pick a point for Project Base….
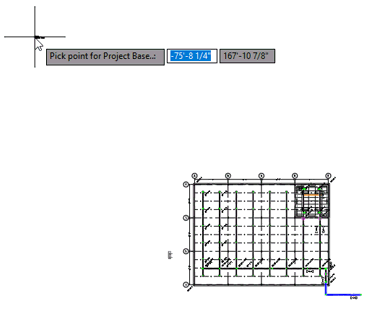
Pick a point for the Base Point.

The Base Point can be moved to a precise location in 3D space by entering the coordinates in AutoCAD Properties.
Start the command and select Denote Basepoint again.
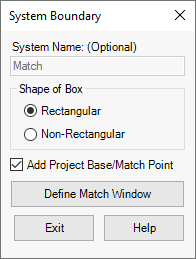
Check Add Project Base/Match Point.
Select Define Match Window.
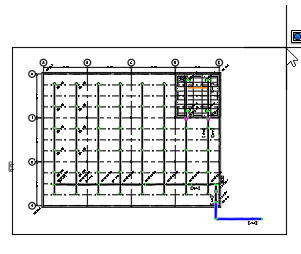
Pick a window around the model objects that you want to move. The command will continue with the prompt: Pick point for Match Point.
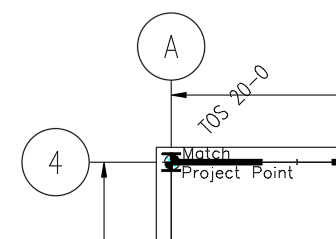
Pick a point on your existing project as a reference point for the move.
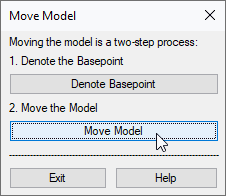
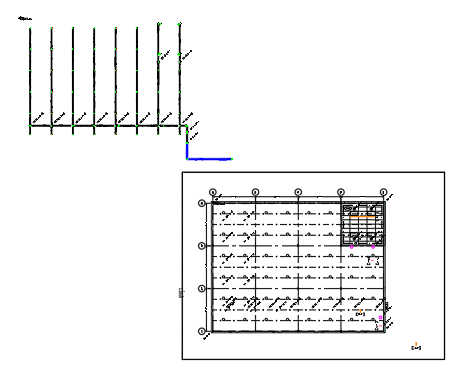
Switch to Top view while still in the 3D model and start the command again. Select Move Model. The selected model objects are moved to the Base Point.
HydraCARDs (Troubleshooting)
For HydraCARDs regarding Move Model: [Click Here]

 HydraDOCs