Appearance
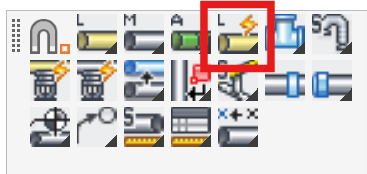
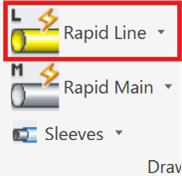
Rapid Line
Layer(s): SPRKDAT2
Shortcut: RL
Associated: Rapid Main / Rapid Line w/ Size
Ribbon: Draw Panel
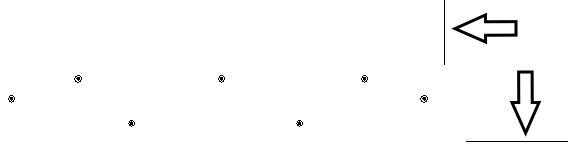
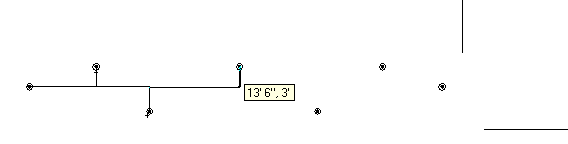
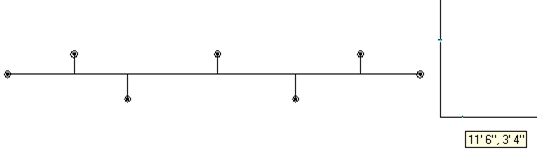
The Rapid Line and Rapid Main commands provide an alternate method for quickly attaching sprinklers, branch lines, and mains. These commands use the HydraCAD Osnaps known as Sprinkler and Pipe End. The following example demonstrates these commands. The sprinkler arrangement below shows several disarrayed sprinklers near existing mains. The arrows indicate the location of two disconnected mains.
Start the Rapid Line command.
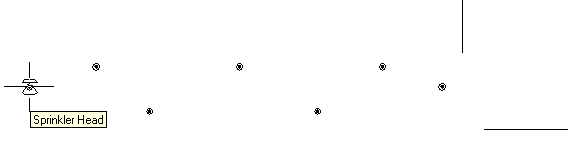
Pick the left most sprinkler.
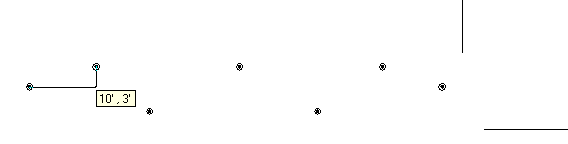
Next, move the mouse to the right and pick the sprinkler as shown. The rapid line command will form a right angle when you hover the mouse precisely over the second head. Left click with the mouse to select the second head.
A tool tip will appear showing you the horizontal and vertical distances from the last pick. Pick the third sprinkler as shown.
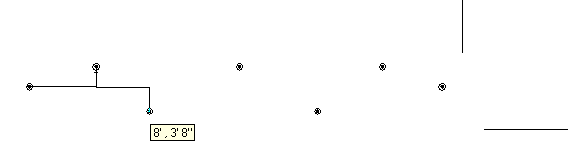
Try picking a point to the left of the third sprinkler you just selected.
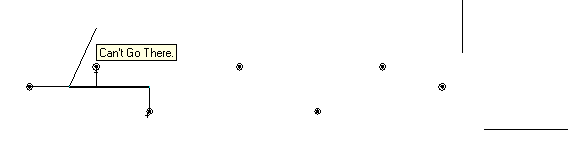
A tool tip will appear indicating that you Can’t Go There. If you were to draw another line in this location, you would draw on top of an existing line and that would cause errors. This routine is smart enough to warn you of this.
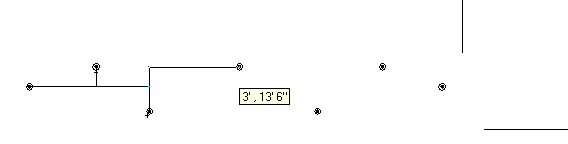
Move on to the next sprinkler. Rapid pipes will create pipes vertically and then horizontally or horizontally and then vertically. The example above shows a vertical pipe and then a horizontal pipe to the next sprinkler. You can change the order by moving back to the horizontal pipe and starting again.
Pick the next sprinkler as shown below. Notice that the coordinates are reversed from the previous example.
Continue picking sprinklers until you get to the end. Press Enter twice to end the command.
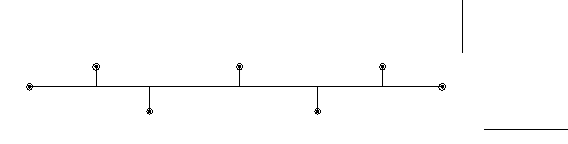
Notice that the pipes are automatically broken at intersections as they should be.
Tip - If you have difficulty in dragging the drag line in the direction you want to go, move the crosshairs back over your original point and wiggle them there. This will allow you to now go in any direction. You can also type in ‘C’ to change direction.
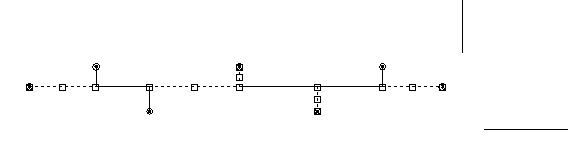
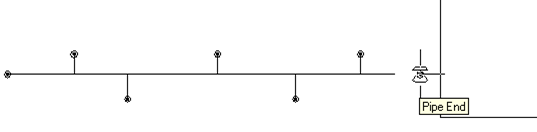
Next, you will attach the disconnected mains using the Rapid Main command. The command works in the same manner as the Rapid Line command.
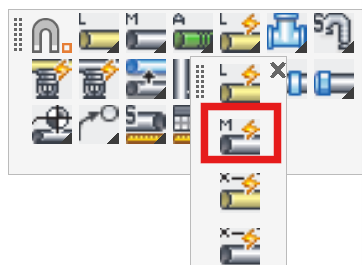
Select Rapid Main from the toolbar.

Select one end of the main as shown above. Next, move the mouse to the other end of the disconnected pipe.
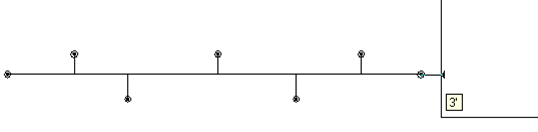
When the pipe forms a right angle connecting the two pipes, left click using the mouse. The mains are now connected. Press Enter twice to end the command. Pressing Enter once will continue running the command and allow you to pick a new start point. Select Rapid Line from the toolbar again.
Select the head closest to the main.
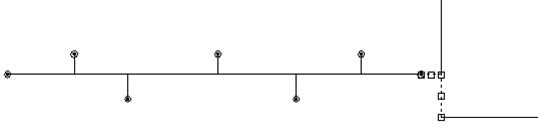
Draw a line from the last sprinkler and hover over the main.
Notice that when you get close to the main an arrow will appear. This means that if you pick in this location the line will be connected to the main and the main will be broken at the intersection.
HydraCARDs (Troubleshooting)
For HydraCARDs regarding Rapid Line: [Click Here]