Appearance
Inserting Legends

HydraCAD commands make inserting Legends fast and simple. There are two steps: Selecting Items for the Legend and Inserting Legend Tags. Prior to using the commands, you should create viewports in Paper Space with your 3D Riser models displayed. Start these commands in paper space only.
Start the Make Legend command from the Build 3D Risers toolbar.
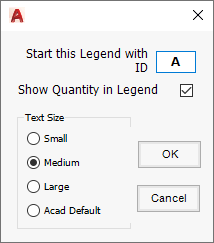
A message box appears. There are three areas for input that control the legend appearance. The Start this Legend with ID text box provides a separate ID value for each fitting in your legend. The Show Quantity in Legend check box gives you the option to display a quantity column in your legend. The Text Size radio buttons control the size of the text displayed in your legend. Press OK when you have selected your preferred settings.
HydraCAD will prompt at the command line to pick objects and you are automatically toggled into model space. Using the left mouse button, pick all parts in the 3D detail to be included in the Legend. Items can be selected using a window or a crossing window and can include pipes and fabricated pipes. Non-detail items such as dimension text and lines will be automatically filtered out.
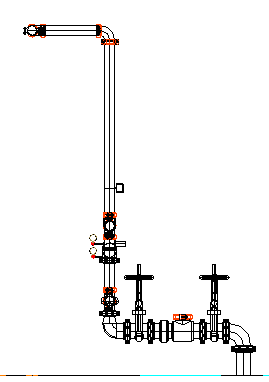
The order in which you select the items determines their position in the Legend. Once your selection is complete Right Click.
When starting with A, a legend of 26 items can be built at one time. If you have more than 26 separate items, you will need to restart the legend with a new ID such as AA. If there are multiple quantities of any one item, there will only be one entry on the legend, and they will have the same tag from the legend.
You will automatically toggle back to paper space. The Legend will appear and can be positioned at any location in paper space.
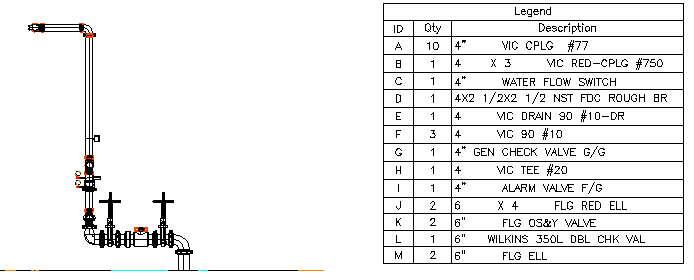
Use the left-mouse button to insert the Legend. There are three columns containing information about each selected item. The ID column will match Legend tags when inserted. The Qty column indicates the number of each part that you selected for the Legend. (optional). The Description column provides information that is found in HydraLIST for each part.
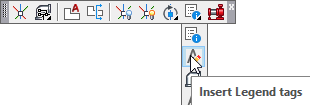
Start the Insert Legend Tags command from the Build 3D Risers toolbar.
This command allows you to insert a Legend Tag for parts listed in the Legend. The Tag value will match the value provided in the ID column of the Legend.
Select a part using the left-mouse button; and use the left-mouse button again to determine the Tag location.
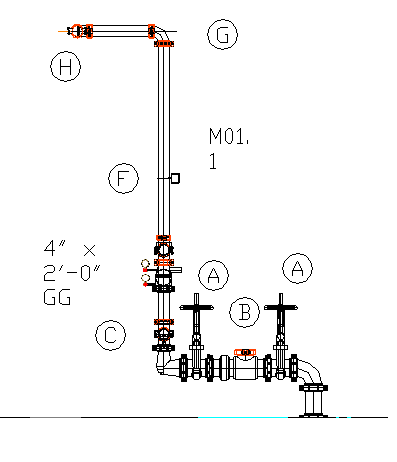
Fittings and valves in the table will have corresponding circled letter tags. If you pick a pipe that was inserted with the Insert Fittings dialog box, the tag will include the size, length and end prep of the pipe. Fabricated pipes will have the HydraLIST Section ID as the tag. Press Esc to exit the command.
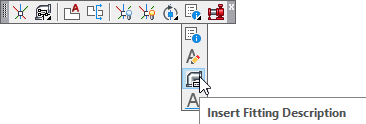
Insert Fitting Description will place a description tag by the part instead of a lettered tag.

 HydraDOCs