 HydraDOCs
Appearance
Define Drops/Sprigs or Ceiling Height
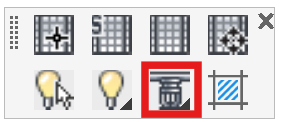
Layer(s): DMNS, CEILING2, DeflinesCeiling
Shortcut: DW
Associated: Ceiling Height / Show System Model / Check Elevation
Ribbon: Elevate panel
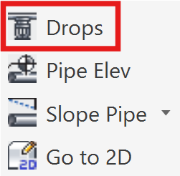
Set up drops, sprigs, double drops and/or ceiling height.
Select the Type with the radio buttons or toggle through the images in the graphic. Select the Length Determination with the radio buttons. Computer Generated will set the sprinkler elevations at the specified Ceiling Height and calculate the appropriate drop/sprig length to achieve this.
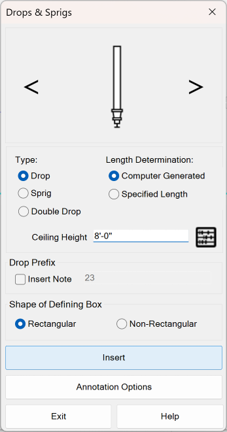
Specified Length will allow you to manually enter the length of the drop or sprig. Enter with the keyboard or select from the abacus.
Use the Shape of Defining Box options to choose how you will specify the Drop or Sprig area. Rectangular will require two picks. Use Non-Rectangular to define an area with multiple picks.
Use Insert Note to insert the text in the available field.
Press Insert to define the area.
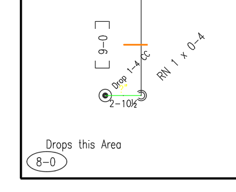
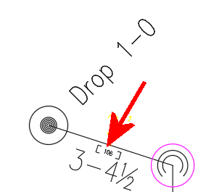
At left is an example with drop pendents. The Ceiling Elevation is set at 8'-0".
The drop was automatically calculated (after raising to 3D and lowered again) as 1'-4" with a 9'-0" branch and a 4" riser.
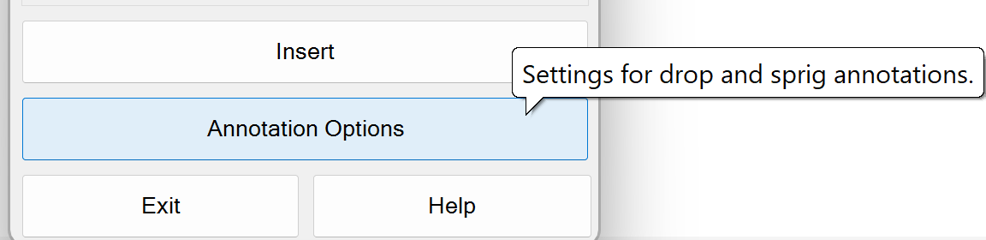
Annotation Options lets you edit the drop or sprig label appearance.
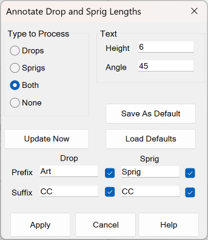
Adjust the settings and Update Now to execute the changes. If you have a preferred setup, use Save As Default to create a backup. Use Load Defaults to retrieve the current Default.
To get a Double Drop where the branch line drop is a fixed distance and the sprinkler drop is automatic, insert fixed length drop pipes at the branch lines with the Riser Nipple Setup command. Then, insert a Computer-Generated Drop window where the ceiling height is specified.
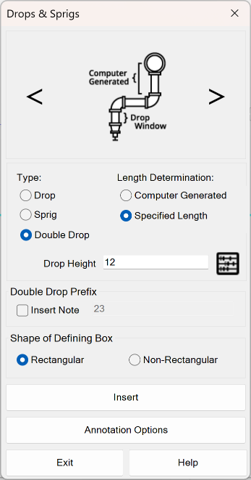
To get a Double Drop where the sprinkler drop is fixed and the branch line drop length is automatic, you must use the Double Drop option.
Follow these instructions:
Start by positioning your sprinklers and attach branch lines to them.
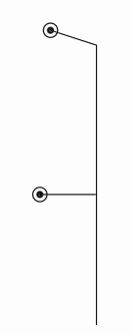
There should be a pipe elevation tag on your system that defines the elevation of the branch line.
Make sure you have previously set up your riser nipples to be Down from the branch lines and the length to be Computer Generated.
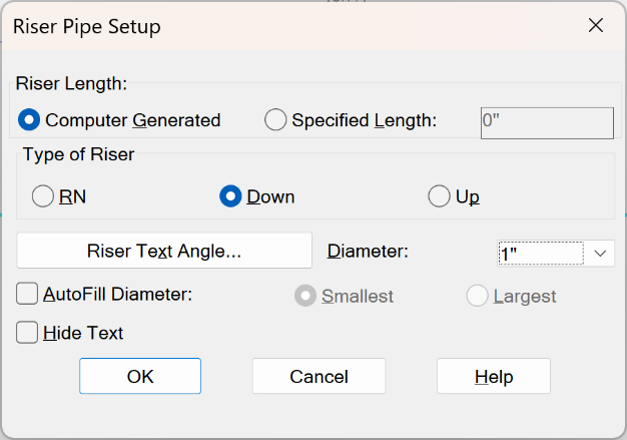
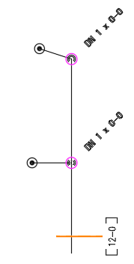
Set the Drops & Sprigs dialog up for a Specified Length Drop.
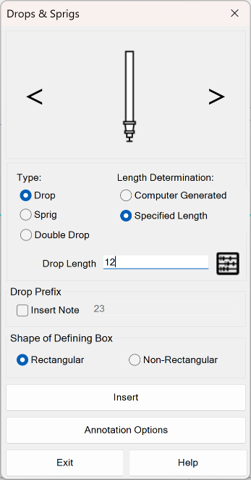
This will set the drop length at the sprinklers.
Press Insert and place a window around the drop pipes and branch lines.
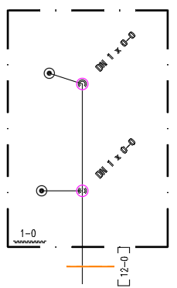
Start the Define Drops/Sprigs or Ceiling Height command again.
Set up the dialog box for a Computer-Generated Double Drop.
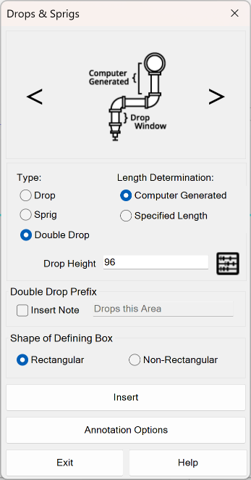
The Drop Height will be the ceiling elevation or the elevation of the sprinklers.
Press Insert and pick the diagonal corners of the existing drop window.
You will then be asked to pick the corners of the existing drop window a second time. Do so.
The Drops & Sprigs dialog box will reopen.
Select Annotation Options.
Select Update Now from the Annotate box.
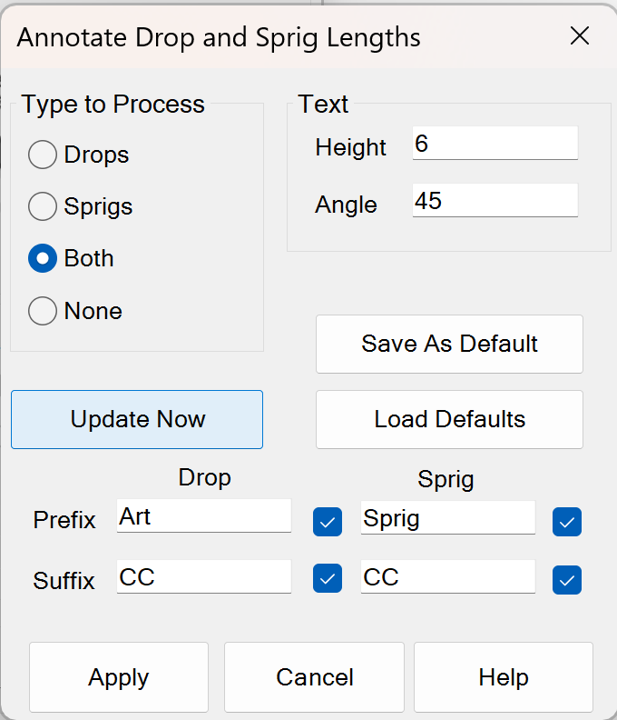
The branch drop pipes will now show the correct length to achieve the specified sprinkler height.
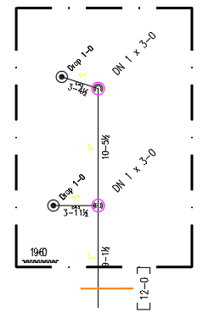
Small characters will appear on the armovers that specify their elevations. Do not erase these.
HydraCARDs (Troubleshooting)
For HydraCARDs regarding Define Drops/Sprigs or Ceiling Height: [Click Here]