
 HydraDOCs
Appearance
Viewports
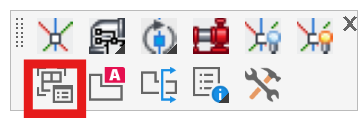
Layer(s): NONE
Associated: Viewbase / Viewsection
Shortcut: VPORTS
AutoCAD Ribbon: View Tab, Model Viewports Panel
Viewports is an AutoCAD command. Complete details are found in the AutoCAD Help system.
Use Viewports to lay out your plot in paper space and/or to provide different perspectives in model space. The Viewports dialog box allows you to create or retrieve viewports into model and paper space.
Viewports in Model Space
Select AutoCAD Ribbon > View > Model Viewports > Named to open the Viewports dialog box.
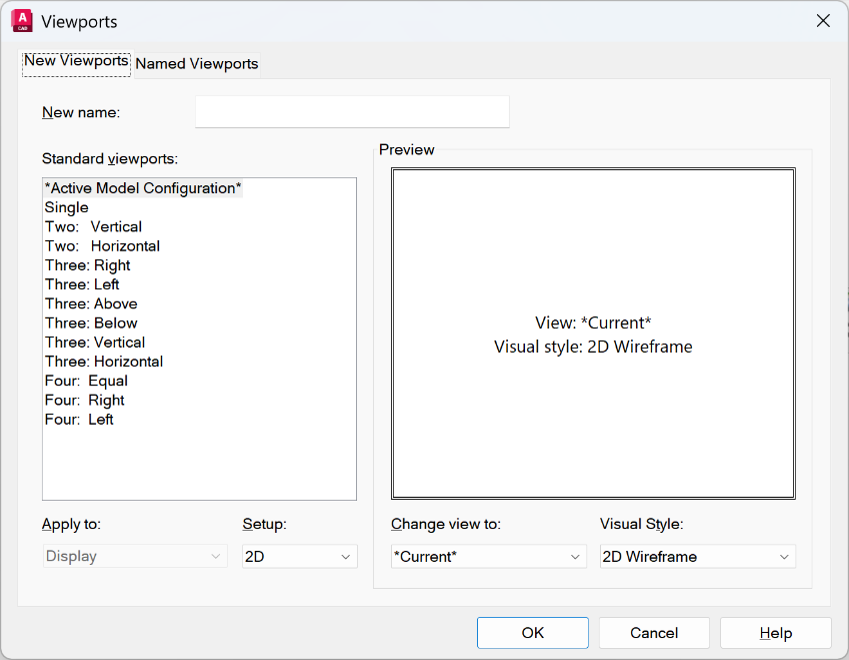
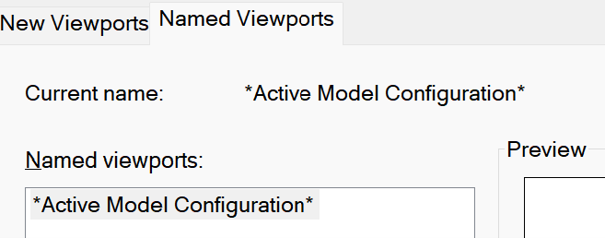
The New Viewports tab enables you to save Model Space viewports by selecting a Standard viewport. Use the New name: edit box to give each view a name or leave it blank. The Named Viewports tab shows these saved views.
Active Model Configuration at the top of the list is the existing viewport scheme currently displayed in the main window or active viewport.
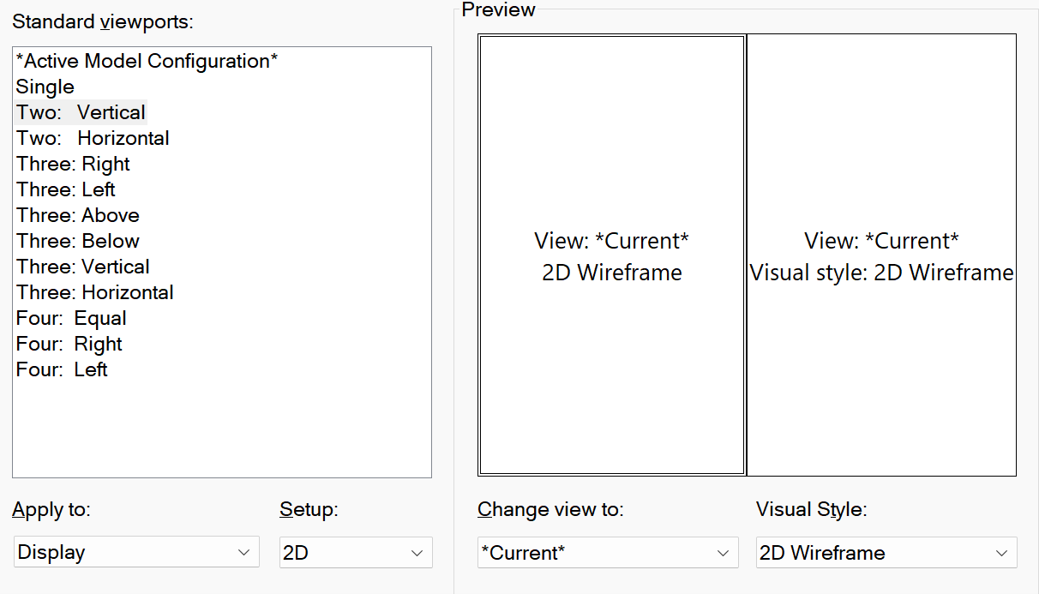
Two: Vertical is selected in the example shown below. The Preview window instantly displays the view and Visual Style for the viewport(s) as you change the settings in the window.
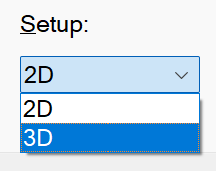
Ensure 3D is selected in the Setup drop down list. This will populate the Change view to: menu with 3D views.
The Change view to: list allows you to change the view for viewports displayed in the Preview window.
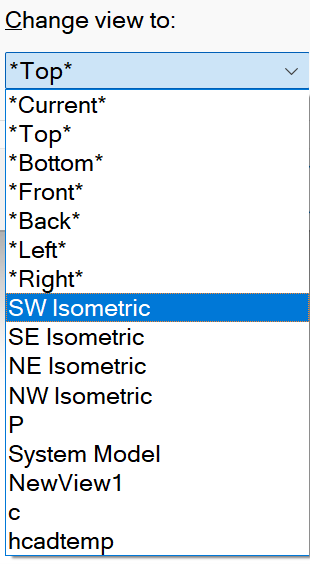
When you select a new view from the Change view to: drop down list, the view displayed in the active viewport in the Preview window will change.
The active viewport is displayed with a double-line border as shown here.
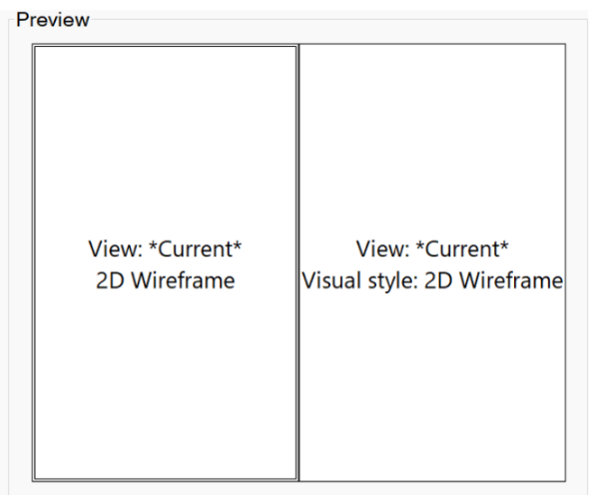
If you previously created a Named View you can retrieve this view into a viewport. Pick the target viewport from the Preview window and select the Named View from the Change view to: drop down list. The name will appear in the center of the active viewport in the Preview window.
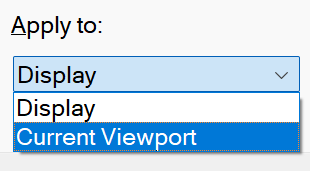
You can apply the viewport scheme to either the main window or active viewport in model space. This option is only available when the Viewports dialog box is opened in model space.
The Named Viewports tab allows you to retrieve views that have been saved, if any.
Press OK to insert the viewport(s) or Cancel to exit the command.
Viewports in Paper Space
Regardless of the template you select when beginning your drawing, the Viewports dialog box in paper space will be the same.

The Viewports dialog box in paper space is the same as in model space with a few exceptions:
First, you cannot create Named Viewports when you open the dialog box in paper space. You can, however, retrieve Named Viewports in the same manner as in model space.

The Current name: cell is for display only. It indicates the selection made in the Standard viewports list. Second, the Apply to: drop down list is replaced with the Viewport Spacing: cell.
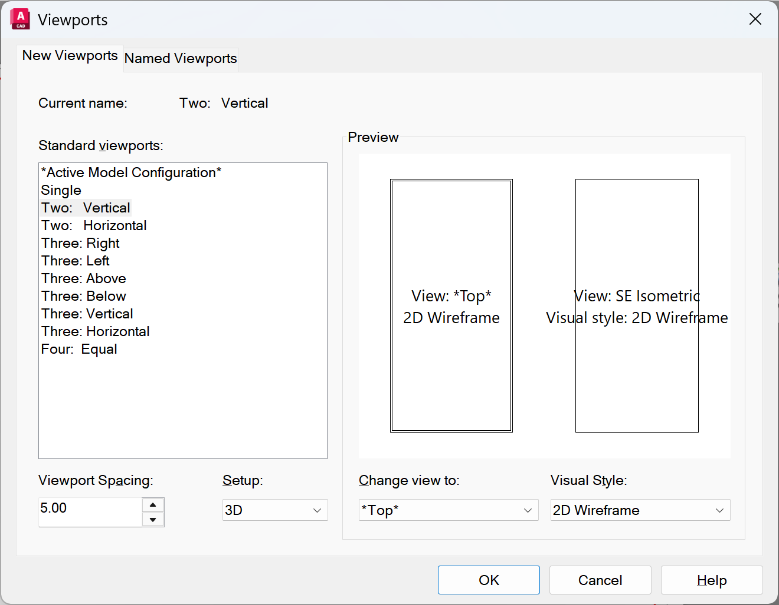
In this example the spacing is set to 5.00. This specifies the spacing you want to apply between the layout viewports you are configuring. Note: You can still insert Named Views into the active viewport.
Third, you must specify the insertion location of the new viewport(s). In model space, the dialog box allows you to specify the main window or active viewport in the Apply to: drop down list.
The command line will prompt you to Specify first corner or [Fit]. You can select an area using the mouse or press enter to fit your new viewports to the entire screen.

The two viewports specified in the previous examples appear as shown here.
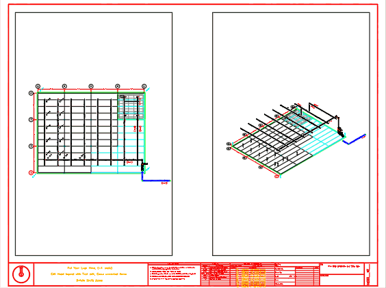
You can edit the size and properties of these viewports. To select a viewport in paper space, focus on the viewport by clicking in it. While the grips are displayed you can right-click on your screen and select Properties.
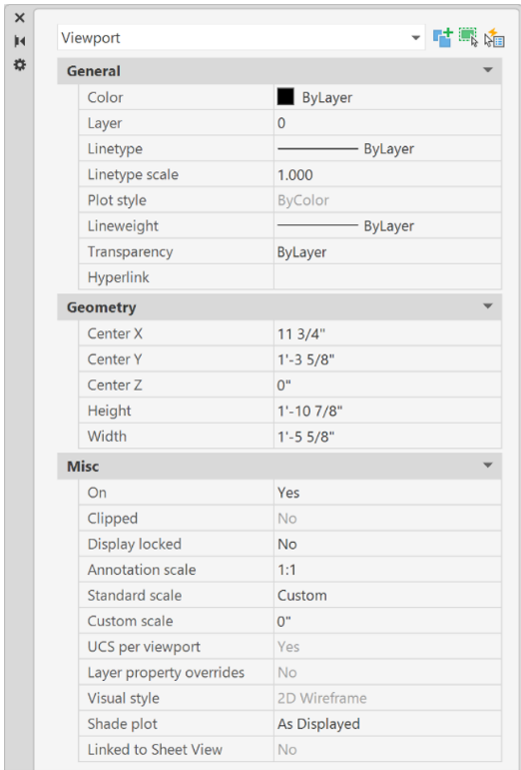
Several viewport properties can be edited here. For example, you can change the viewport scale by using the Standard scale drop down list.
See AutoCAD Help for additional information on Viewports and Properties.
Saving Views
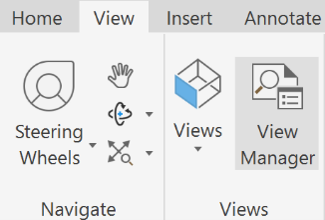
Named Views are saved "snapshots" of your 3D drawing from different perspectives. You can save and retrieve Named Views in the Model window or in a Layout tab with the View Manager. You can access the View Manager from the AutoCAD Ribbon > View > Views Panel.
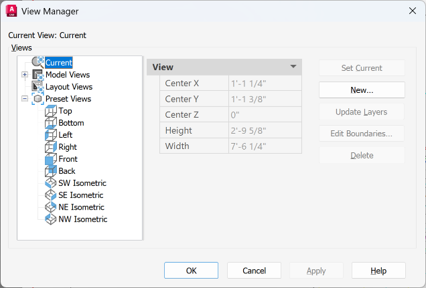
The tree on the left allows you to save views in Model space or in a Layout. When the Preset Views heading is expanded, several perspective options are available for the current view. These options are also available on the View toolbar. To create a new view, press the New… button.
The New View dialog box provides you with several options. Type in a name for your new view in the View name: cell.
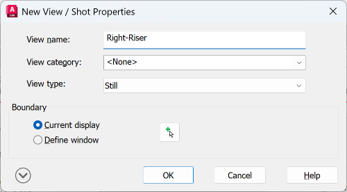
Select either the Current display or Define window radio buttons. If you pick the Current display button, the view in the main window or active viewport will be saved with View name. If you select the Define window radio button, you can select the display area using the mouse. To do this, press the Define View Window button.
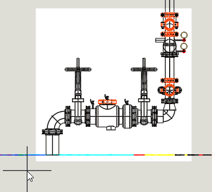
Pick two points around an area of your drawing in the main window or active viewport.
The area you specify will be the display area saved with your View name.
Press OK to create the new view.
To retrieve this view, select the View Name from the Model Views and press the Set Current button.
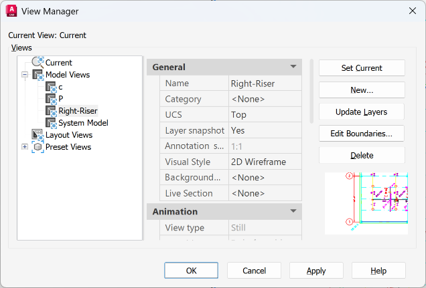
Press the OK button to retrieve the Named View into the main window or active viewport. If you are working in Paper Space, you will have to pick the border of the target viewport.
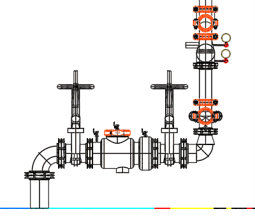
If you specified a view, as is the case with Riser-Right in the example, the display area you selected will cover the entire area of either the main window or active viewport.
See AutoCAD Help for additional information on Named Views.