Appearance
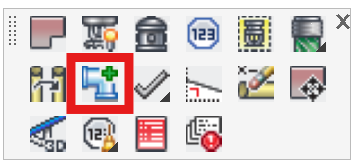
Add Calculation Fittings
Layer(s): HYD_TEXT
Shortcut: CALC_FTGS
Associated: Start AutoCalcs
Ribbon: Process Panel
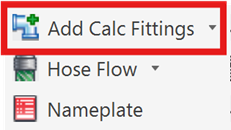
Add fittings and valves to pipes. This information will be carried over to the HydraCALC program via AutoCalc.
The HydraCALC database is directly accessed via this command, so changes to that database will be available to this command.
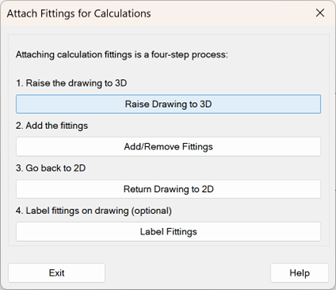
Attaching fittings is a four-step process. Press Raise Drawing to 3D to start, or raise it outside of this command, first.
Start the command again and press Add/Remove Fittings. You will be prompted to select a HydraPipe to put the fittings on.
Pick a pipe in the 3D system to receive fittings.
The Hydraulic Fitting Input dialog box will display.
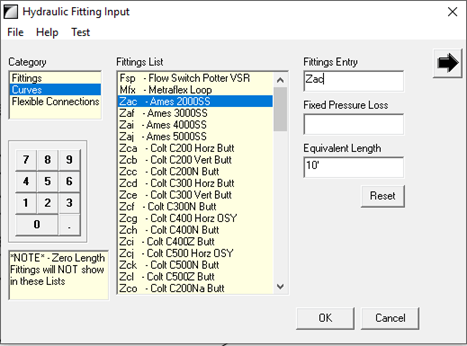
Choose a Category on the left.
In the example, the Category Curves has been selected. This presents a list of items that have pressure loss vs. flow curves in HydraCALC.
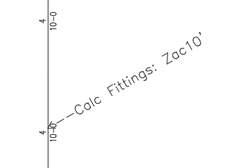
The Ames 2000SS backflow was selected causing its abbreviation of Zac to be entered in the Fittings Entry field. You can enter multiple items is you wish.
In this example, an Equivalent length was added as well. You can also enter a Fixed Pressure Loss if desired. The arrow at the top right provides an additional list of available items.
Press OK and the command will continue until you press Enter and the dialog box will return. If you are finished adding fittings, press Return Drawing to 2D.
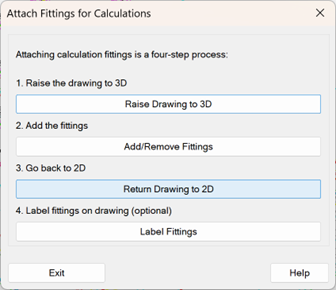
Finish by pressing Label Fittings.
The items will be added to the Fittings list in HydraCALC when you run AutoCalc.

HydraCARDs (Troubleshooting)
For HydraCARDs regarding Add Calculation Fittings: [Click Here]