 HydraDOCs
Appearance
Export Pipe Dimensions to Revit
Export Pipe Dimensions to Revit adds pipe sizes to the linked Revit project. Have both HydraCAD and Revit open with your project. The HydraCAD drawing should be in the 2D view. Have pipe sizes visible.
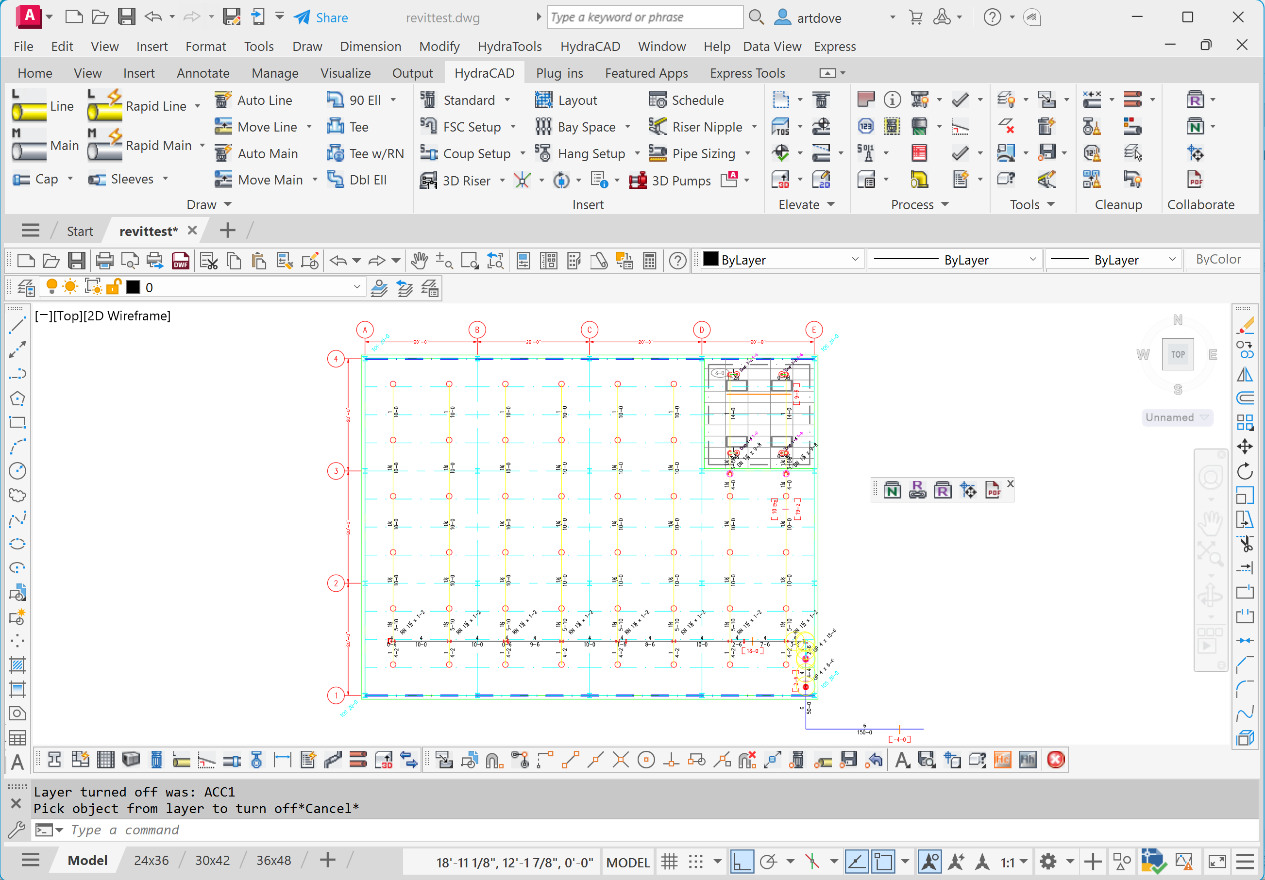
Pick Export Pipe Dimensions to Revit. This will create a drawing file in the project folder having the drawing's name with –Annotations appended to the end.
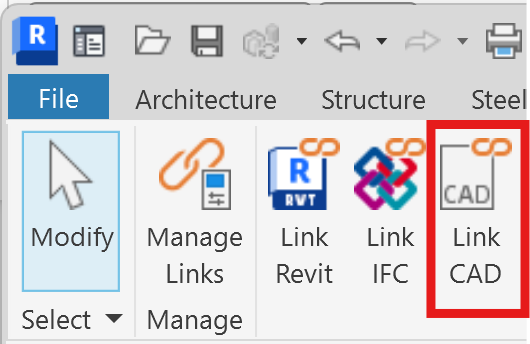
From the Revit Insert tab, pick Link CAD.
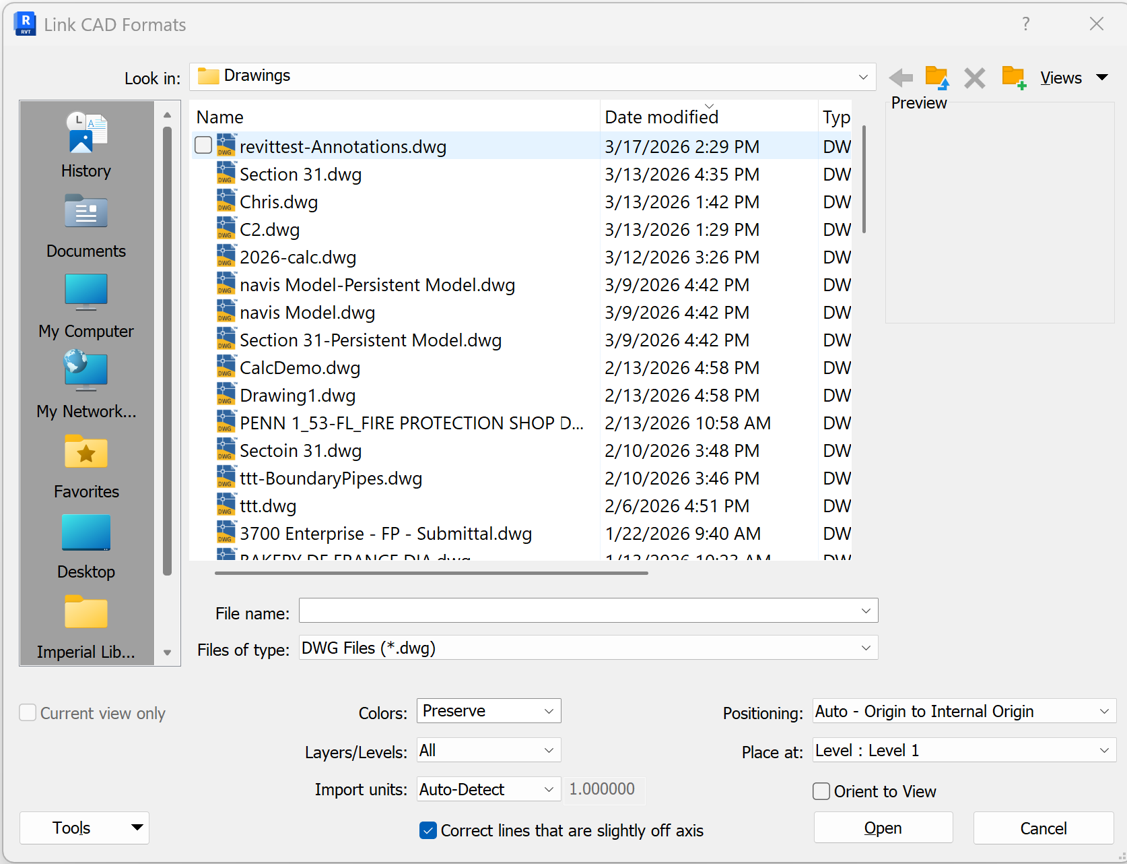
Select the appropriate .dwg file. Positioning: should be set to Auto – Origin to Internal Origin. Place at: should be set to the corresponding level for your annotation file.
This will insert the pipe dimensions into the Revit model. The results can be seen by looking at a floor plan view.
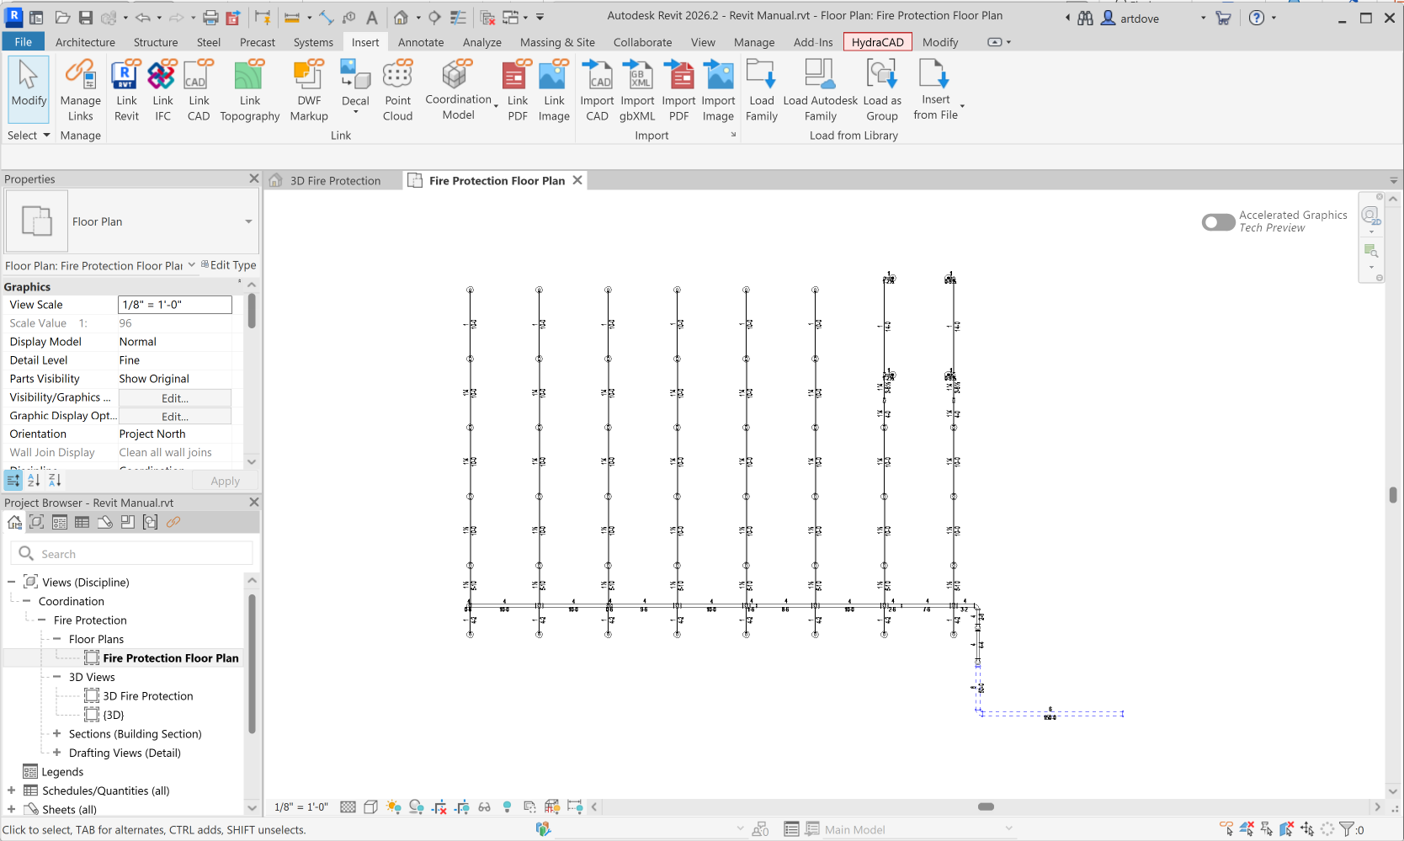
If changes are made to your project in HydraCAD, repeat Export Pipe Dimensions to Revit to make an updated annotation dwg file.
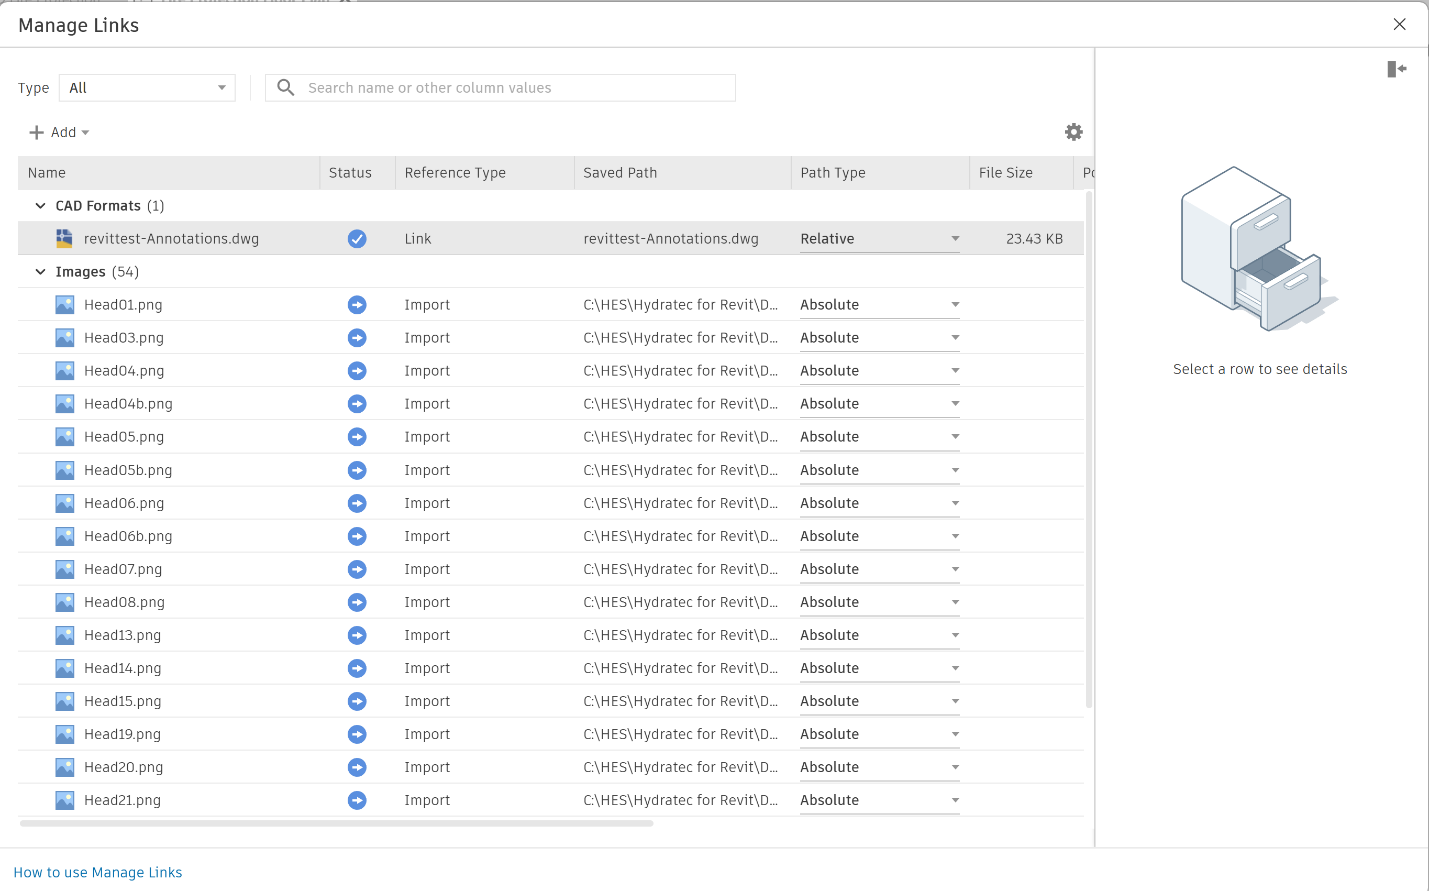
Open Revit to the corresponding project. In the Project Browser, at the very bottom of the list, right-click on Revit Links and pick Manage Links.
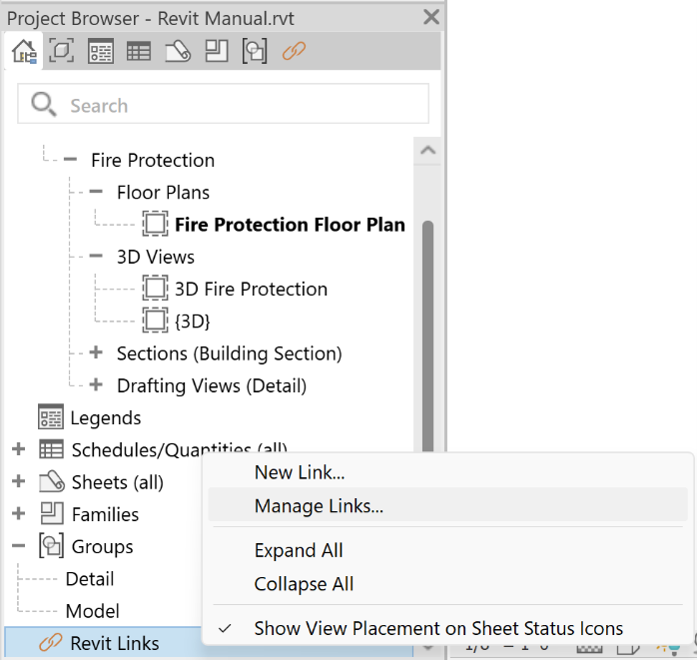
Pick the CAD Formats item. Select the appropriate dwg file and pick the Reload button. This will update your project.