 HydraDOCs
Appearance
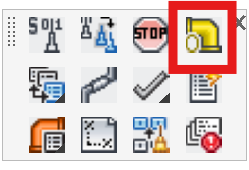
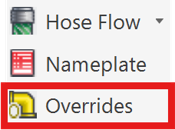
Override Fitting
Layer(s): SPRNK3, TEXT
Shortcut: OV
Ribbon: Process Panel
When the Listing tags are used, the specifications for the tags include the fitting or outlet type. This is considered the default fitting type and any fitting which AutoList encounters will be set to this type.
If you have certain fittings which you want fabricated otherwise, you can specify that with the Override Fitting command. These overrides take precedence (override) when the drawing is being read by AutoList.
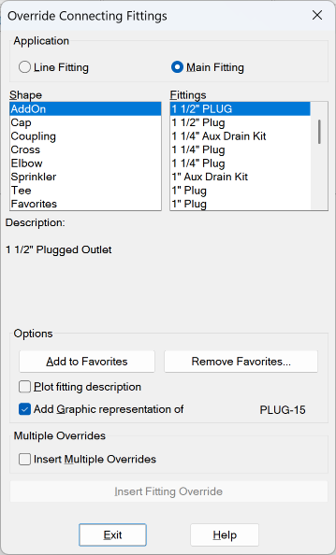
Select Line Fitting or Main Fitting to sort the list.
The selected Shape corresponds to standard categories of fittings. Select the Fitting to be used from the sorted list.
The Description explains what the override is intended to do.
Use Add to Favorites and Remove Favorites to manage your favorites list. Use this list in the future for quick selections.
With Plot fitting description selected, a description for the override fitting will be added to the drawing in a layer which will be visible in the final plot. Leave this unselected if you do not want the description to be visible in the plotted drawing.
Select Add Graphic representation of … if you want an additional block graphic to be added to the new override location. Not all overrides have a graphic representation.
For multiple insertions, select Insert Multiple Overrides and pick a block such as a coupling or sprinkler. Pick the areas for insertion with a window and the Overrides will be inserted only where HydraCAD finds the same block type as was selected.
Press the Insert Fitting Override button to begin inserting overrides.
HydraCARDs (Troubleshooting)
For HydraCARDs regarding Override Fitting: [Click Here]